Month: March 2015
Making the Rosette Nebula Mosaic
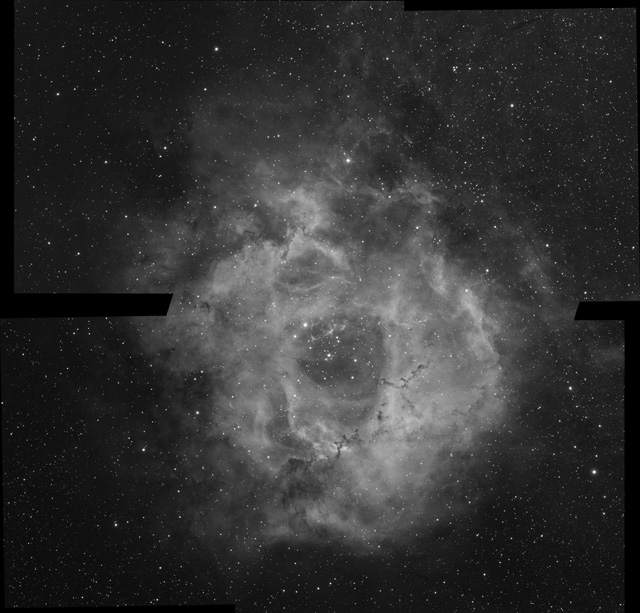
My imaging field of view is 1.37° x 1.03° (more on this here), which is very limiting when targeting large nebula. As you can see below, My image of the Rosette Nebula is too contained. The nebula has no room to “float” in space.

I wanted a 2°x 2° image so my options were either a smaller telescope or a mosaic.
If you are new to astrophotography, I strongly recommend you start with Starizona’s guide to imaging.
Planning the Mosaic
To create the 2°x 2° mosaic of the Rosette Nebula in narrowband I used Sequence Generator Pro‘s Framing and Mosaic wizard. With some rotation, I was able to fit nebula in the 2×2 frame mosaic.
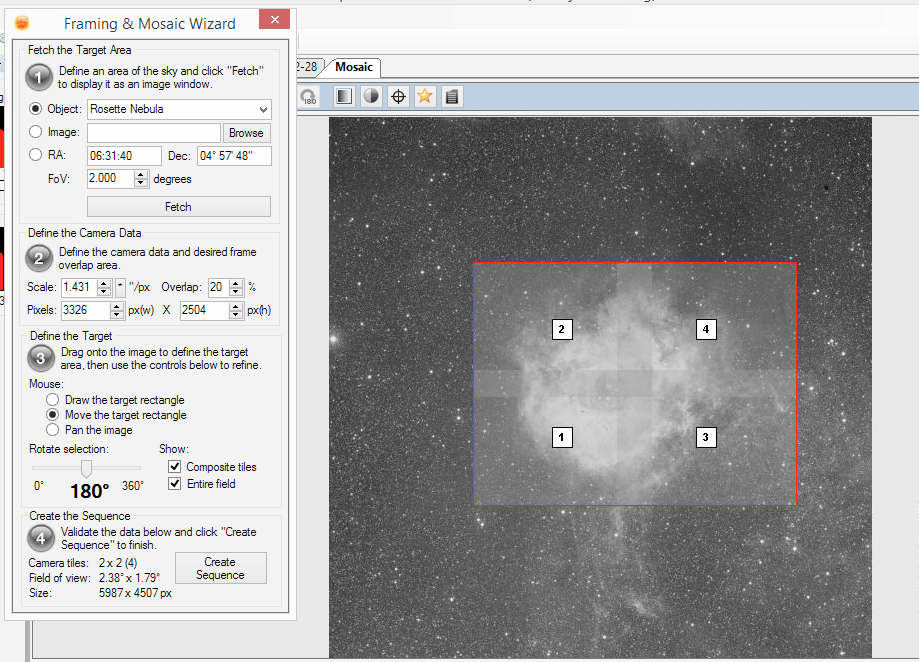
The planning session in Skysafari estimated roughly 5 hours or imaging per night (less with the ever time consuming meridian flip)


Imaging Sessions
Light pollution: Bellevue is a city. Is rank 7-8 in the Bortle Scale. For a light pollution map go here. For a great article about the effects of light pollution on astrophotography go here. I will be using Narrowband filters Ha, OIII and SII. In previous attempts I had good results with 20 minute exposures in Ha and 30 minute exposures in OIII and SII.
Number of frames: Astro images straight out of the camera tend to be noisy. The Signal to Noise Ratio (SNR) of an image can be increased in post processing using image integration (combination) . Post processing requires multiple images of the same object (Light frames or subs), and multiple calibration frames (Bias, Darks, Flats). More here. A very effective image integration algorithm is Winsorization but it requires at least 8 frames per filter. (For a deeper dive on image integration go here.)
Time, time, time: In the section above I determined that I have a 5 hour imaging window. Prior to the first image of the night, the telescope has be focused, find where it points to the sky, calibrate its autoguider, then slew to the target, center, rotate, focus again, wait for the autoguider to settle and then start imaging. That routine averages 10 minutes and takes away from pure imaging. Another time sink is a meridian flip, a maneuver by the mount to reposition the telescope on the target when it crosses the Meridian. After a flip which usually takes 2-5 minutes all the startup steps apply so the overall cost is 12-15 minutes. That cuts the imaging window to 4 hours and 30 minutes.
Overall:
Ha = 8 subs x 20m x 4 mosaic frames ~ 11 hours ~ 3 nights
OIII = 8 subs x 30m x 4 mosaic frames ~ 16 hours ~ 4 nights
SII = 8 subs x 30 m x 4 mosaic frames ~ 16 hours ~ 4 nights
The minimum number of imaging sessions is 8 nights. That is… 11 clear February/ March nights in Seattle.
Global warming to the rescue “Seattle sets twin records for warmest February, winter on record”
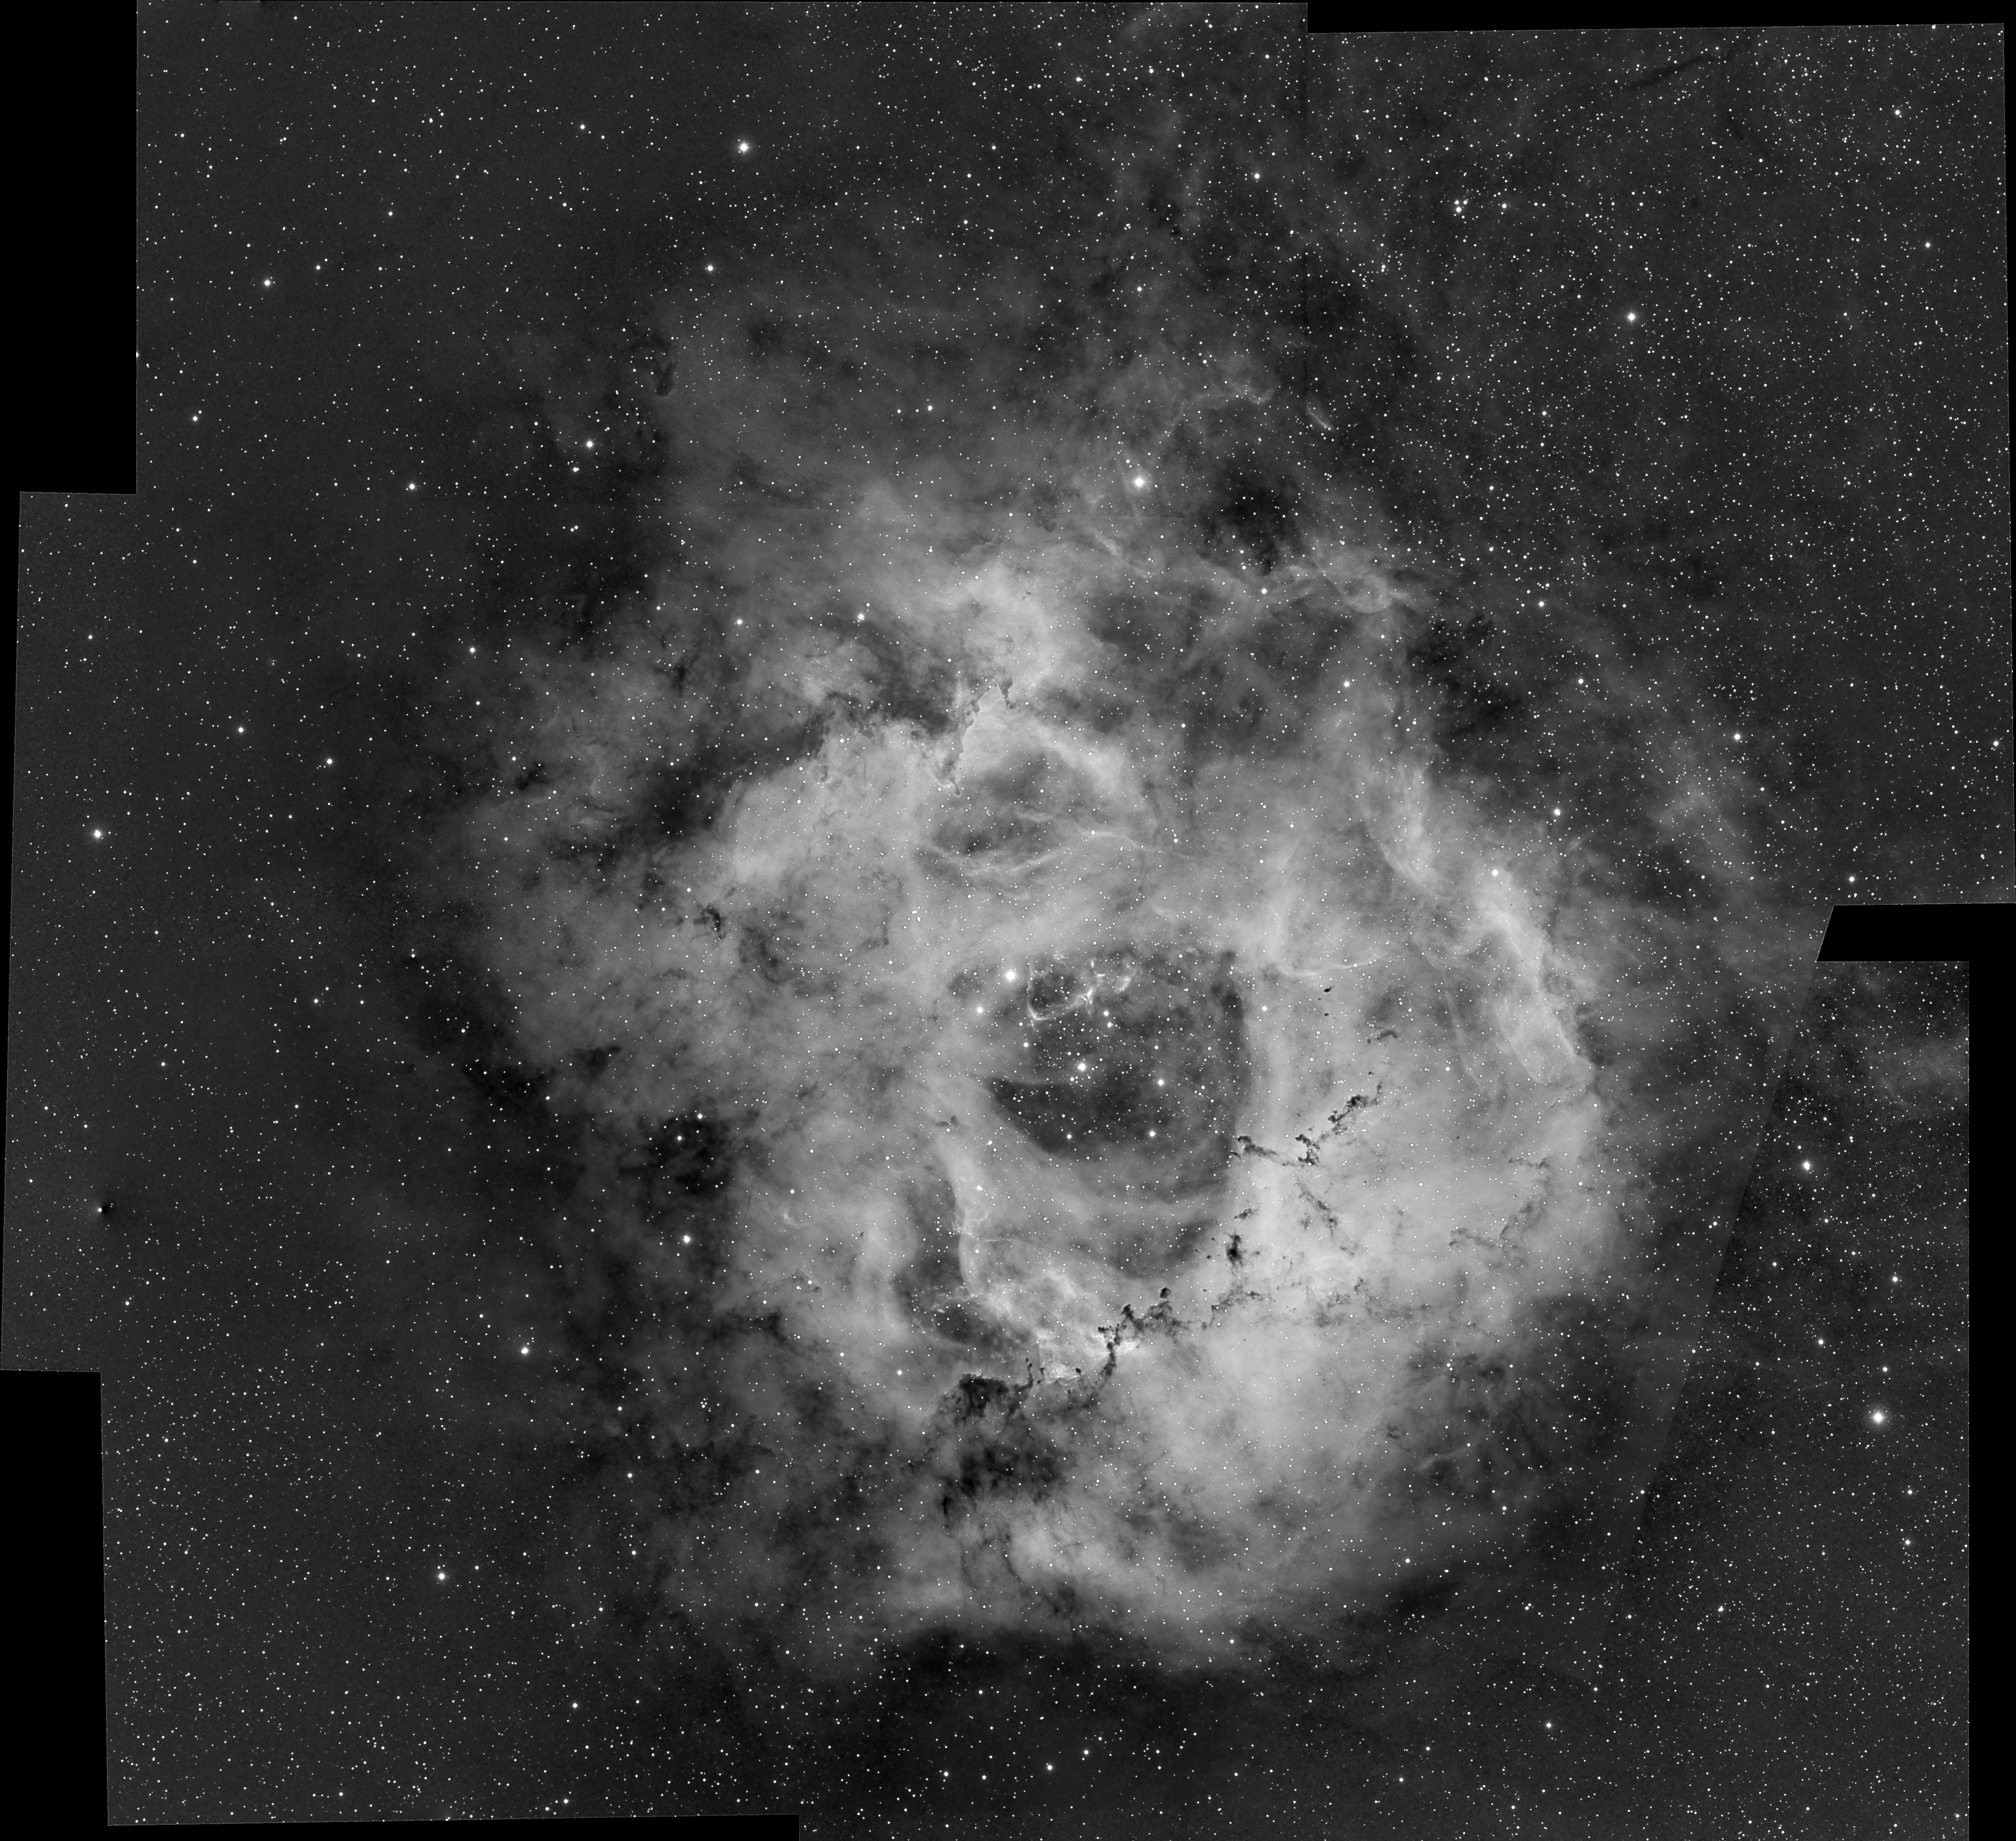
Starting with Ha
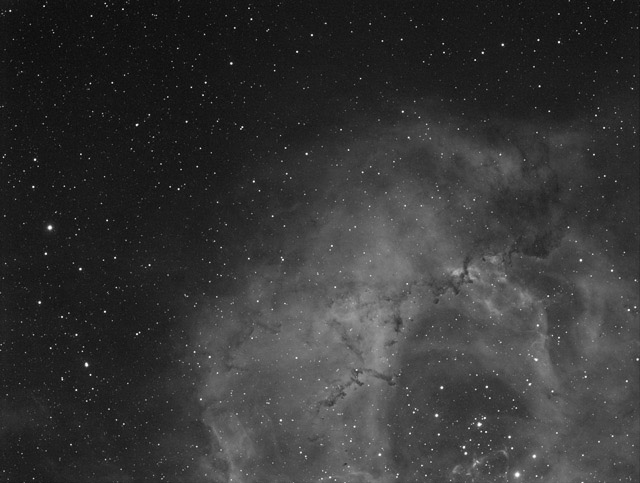
January 28-29th, 2015 : 8 x 20 min subs of the central region

February 22-23rd , 2015 : 8 x 20 min subs of top right and left areas
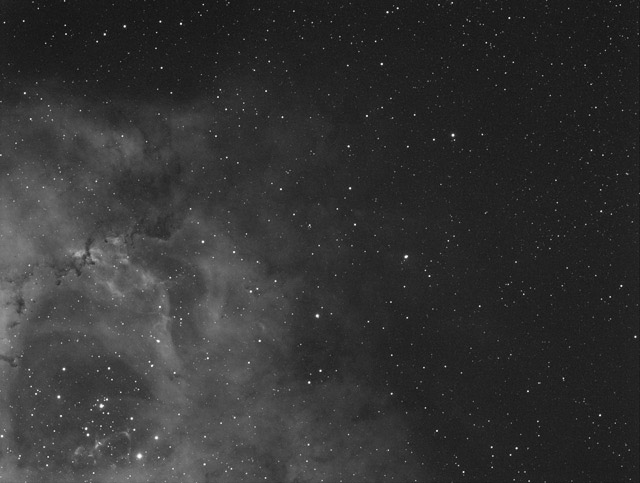
February 23-24th , 2015 : 8 x 20 min subs of the bottom right and left areas
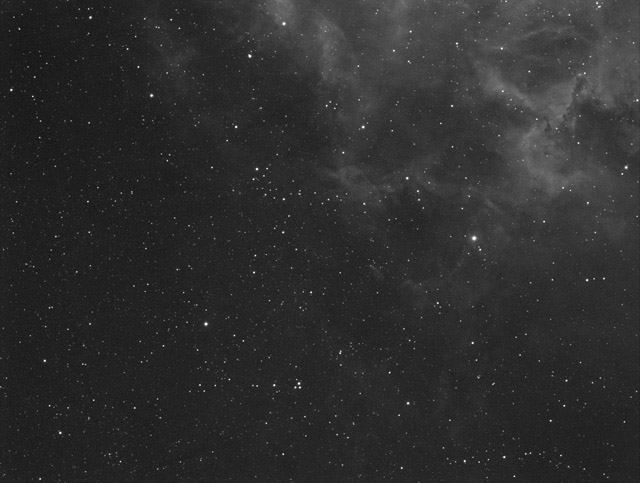

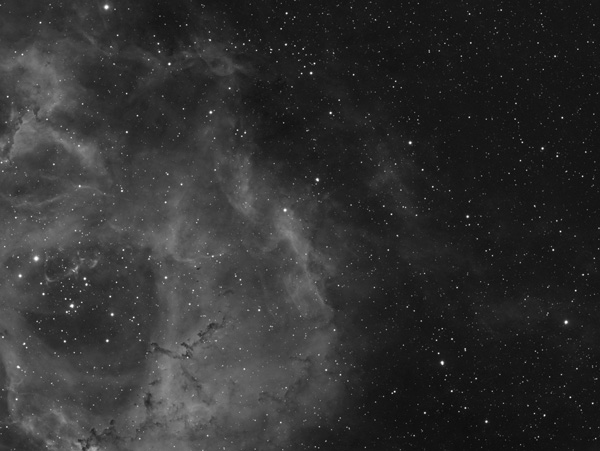
Due to a probable but yet unidentified user error, the bottom frames were not overlapping with the top. So the first mosaic attempt had some missing areas
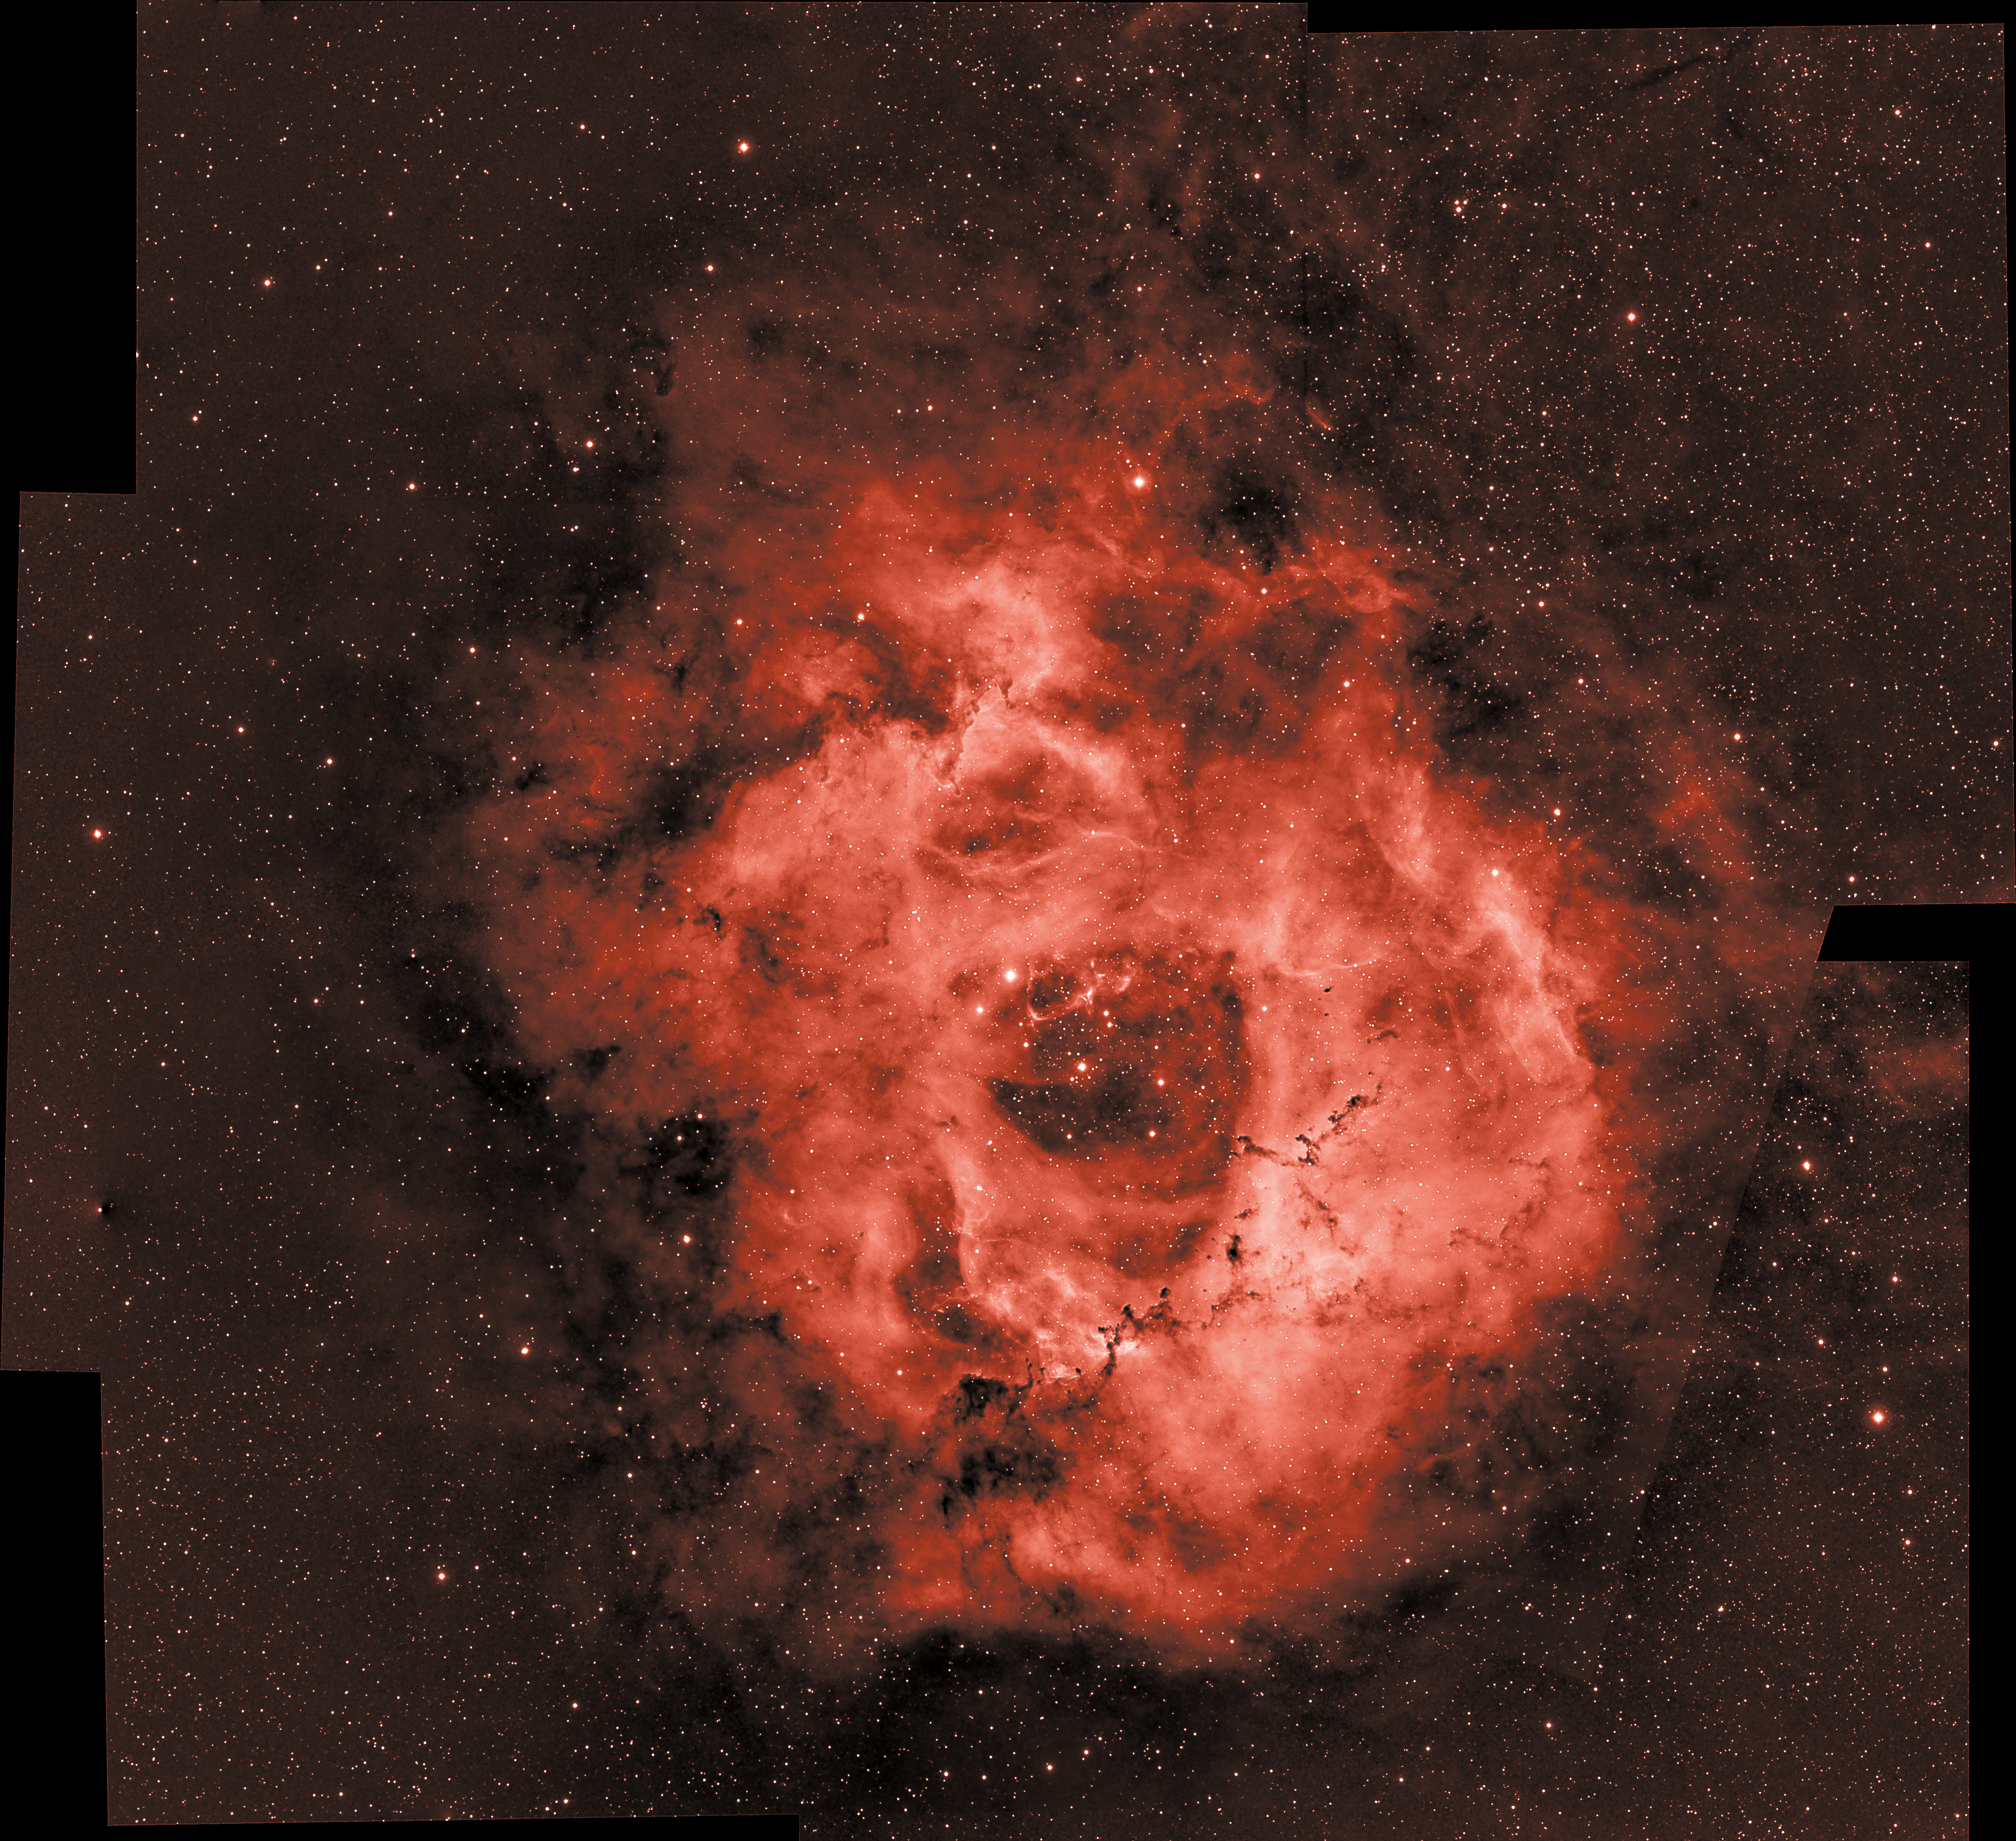
March 1st, 2015: 8 frames of the missing left side
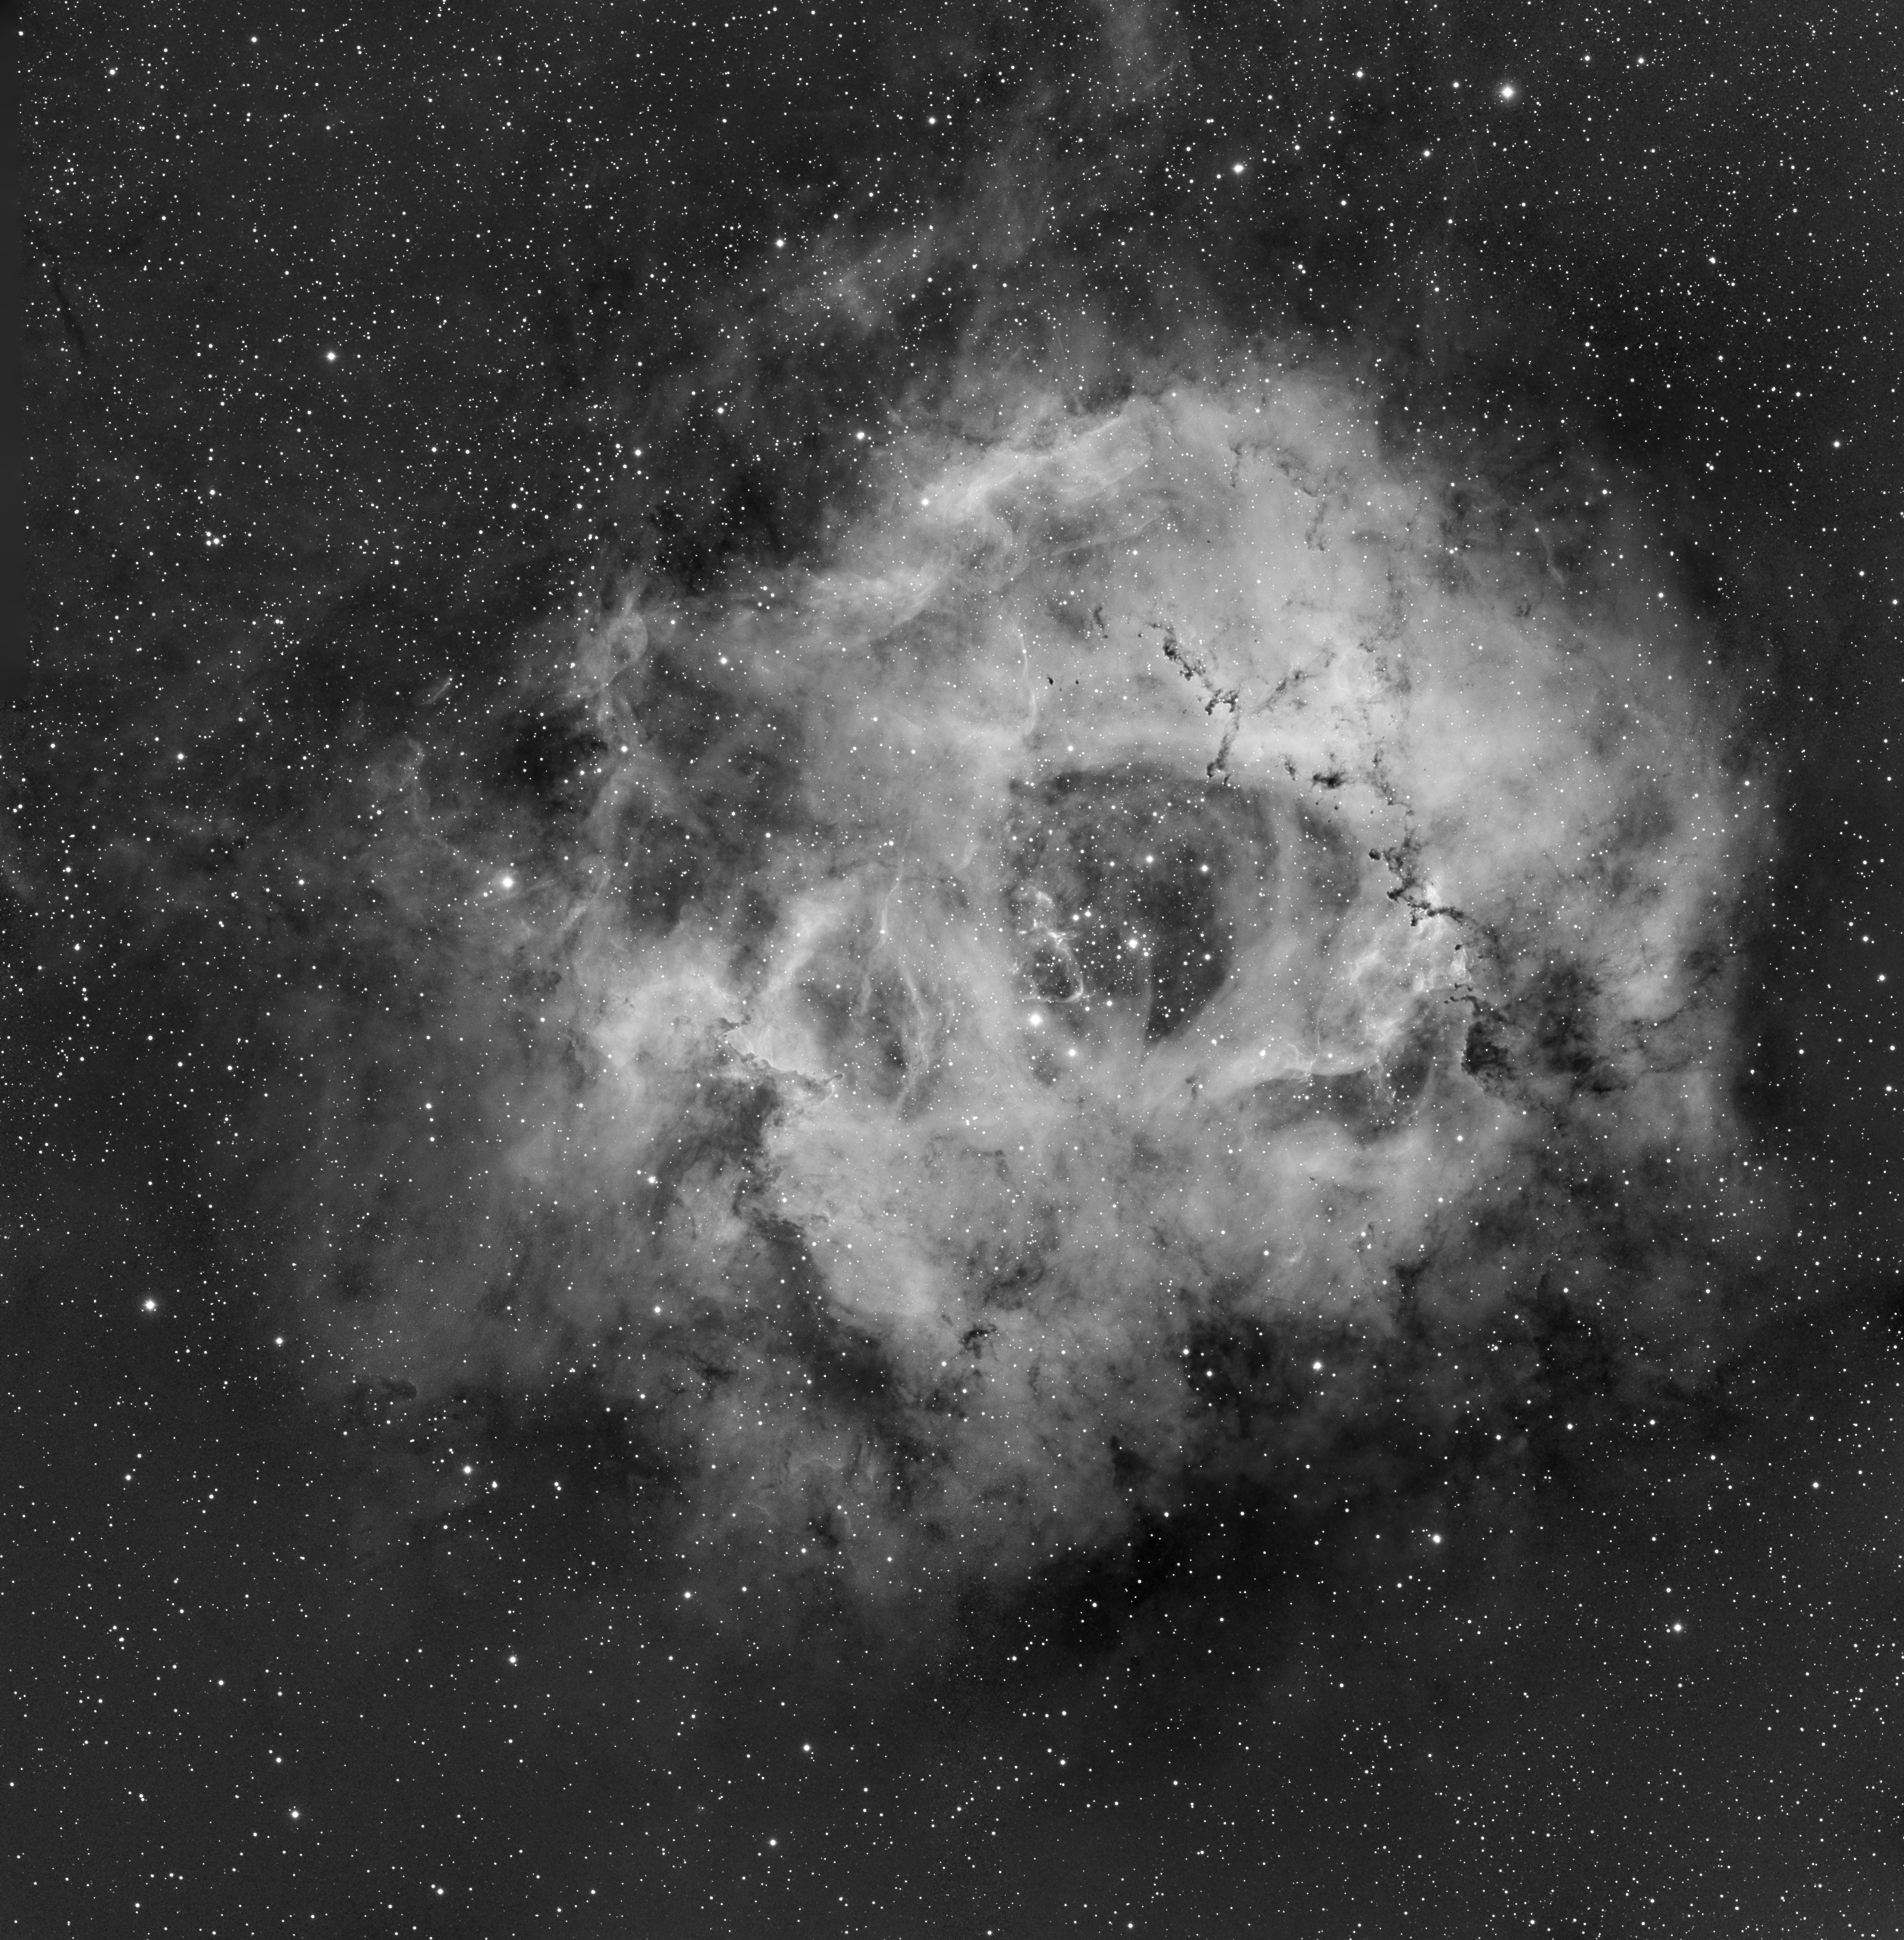
The two extra frames added 3 more nights imaging in order to have all the necessary frames. But the Mosaic is complete
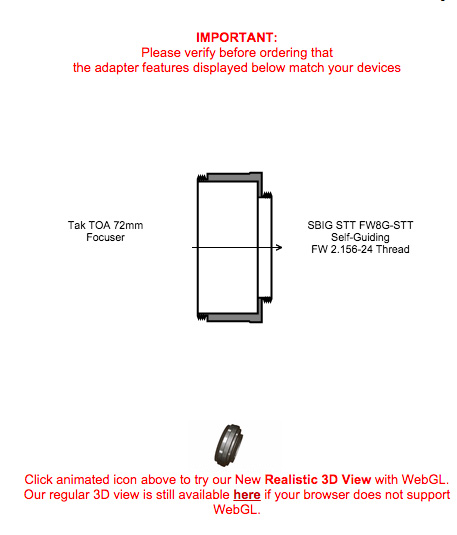
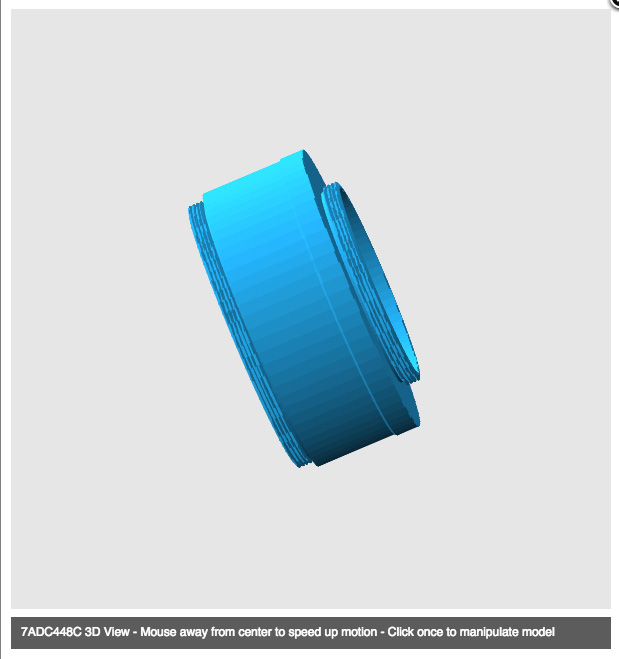
Finding the right spacer between a TOA-Focal reducer and an SBIG-STT 8300M with FW8G-STT
The distance between the reducer and the camera plane is critical. My telescope is a Takahashi TOA-130. I will be matching it with the TOA reducer and SBIG-STT 8300M camera with an FW8G-STT filter wheel.
My Imaging train

TOA-130 with The TOA-RF reducer backfocus

The first key number is calculating the backfocus distance. (more here)

The number I am looking for is 83.7mm, which is the optimal distance from the reducer to the CCD.
SBIG STT8300M and FW8G-STT Spec backfocus
For details go here

I am using 3mm filters so the back focus distance according to the chart is 52.5mm. SBIG technical support advised me to add 3.7mm for the mounting plate, The camera backfocus distance 56.2mm. A spacer is required between the focal reducer and the CCD.
Spacer length = 83.7- 56.2 = 27.5mm spacer.
To build one go here.

Rosette Nebula Mosaic v2
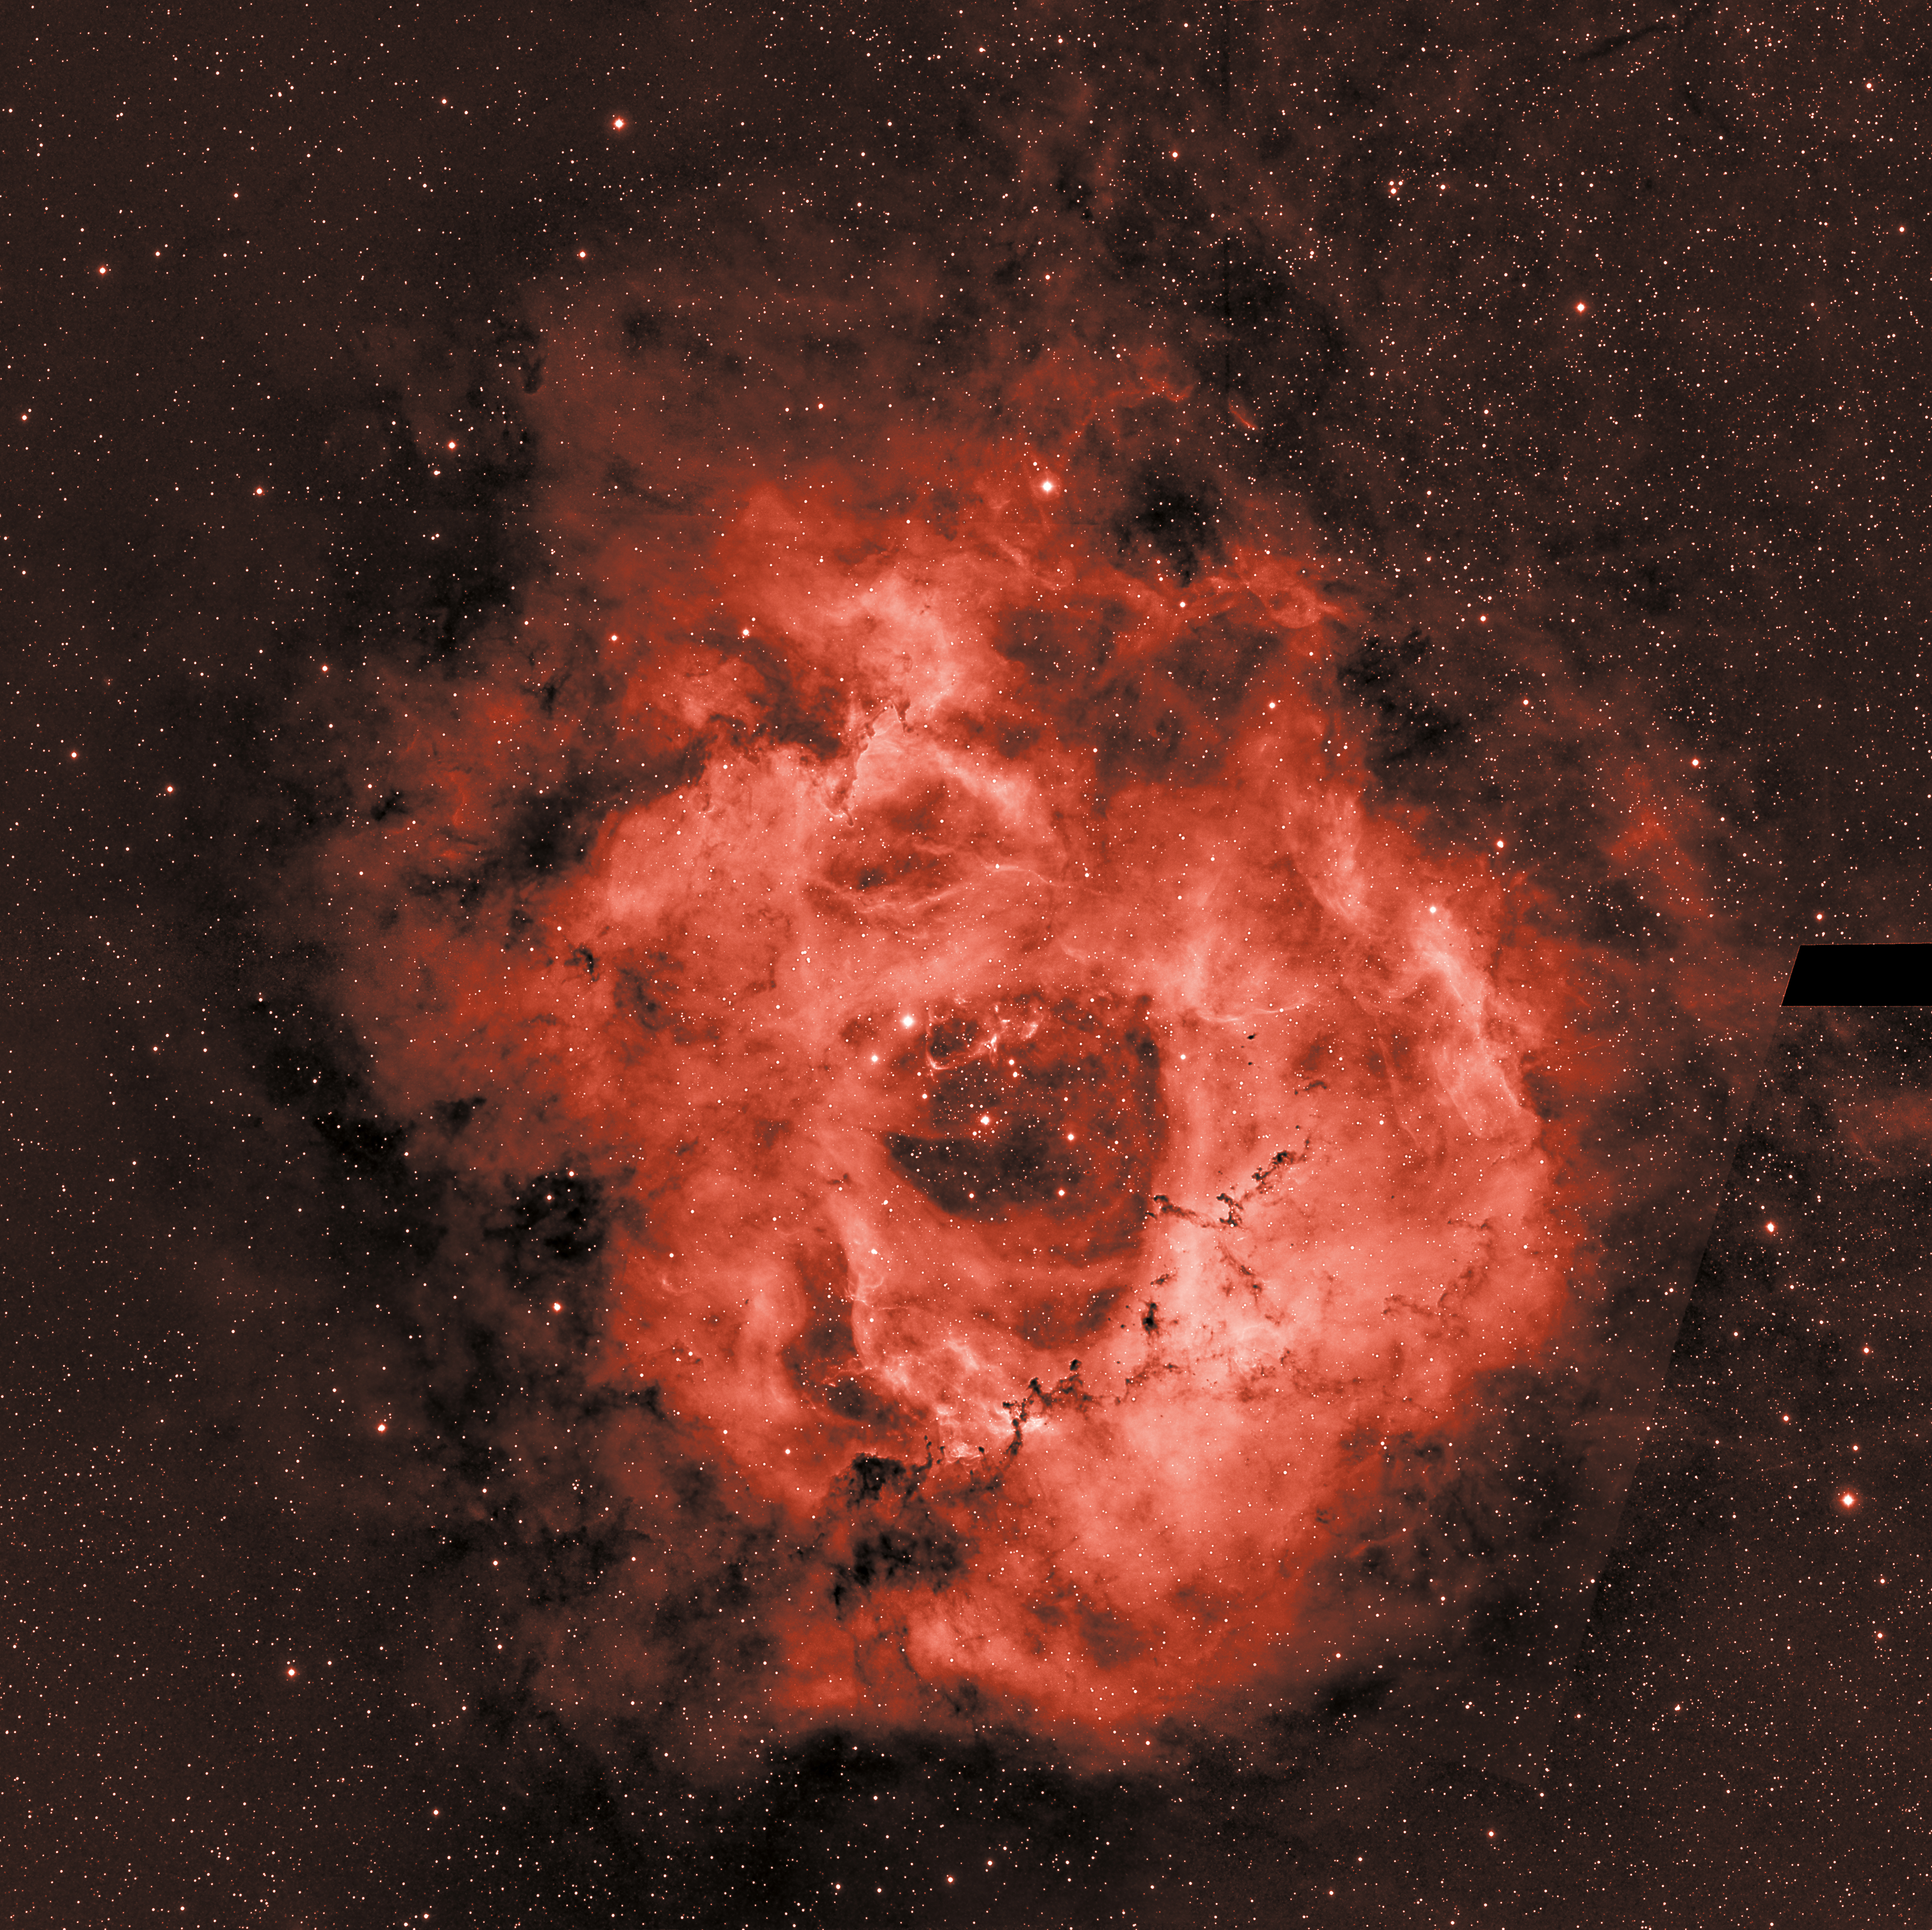
Adding the missing frames
