There are three basic parts to the madness of getting a good astrophoto. First, the image acquisition process, which involves setting up the telescope, polar aligning, guiding, selecting the target, calculating exposure times, framing, focusing and finally acquiring the subframes, the lights. The second part is prep-work, which involves getting dark, flat and bias frames, and creating master frames. The third part is combining all this, calibrating with the darks, flats and bias frames, debayering (I have a color CCD), star-aligning, integrating and then post-processing. There is a lot of information out-there.
I am posting this mostly so I can remember all the steps myself. The workflow starts after image acquisition and prep-work. But briefly
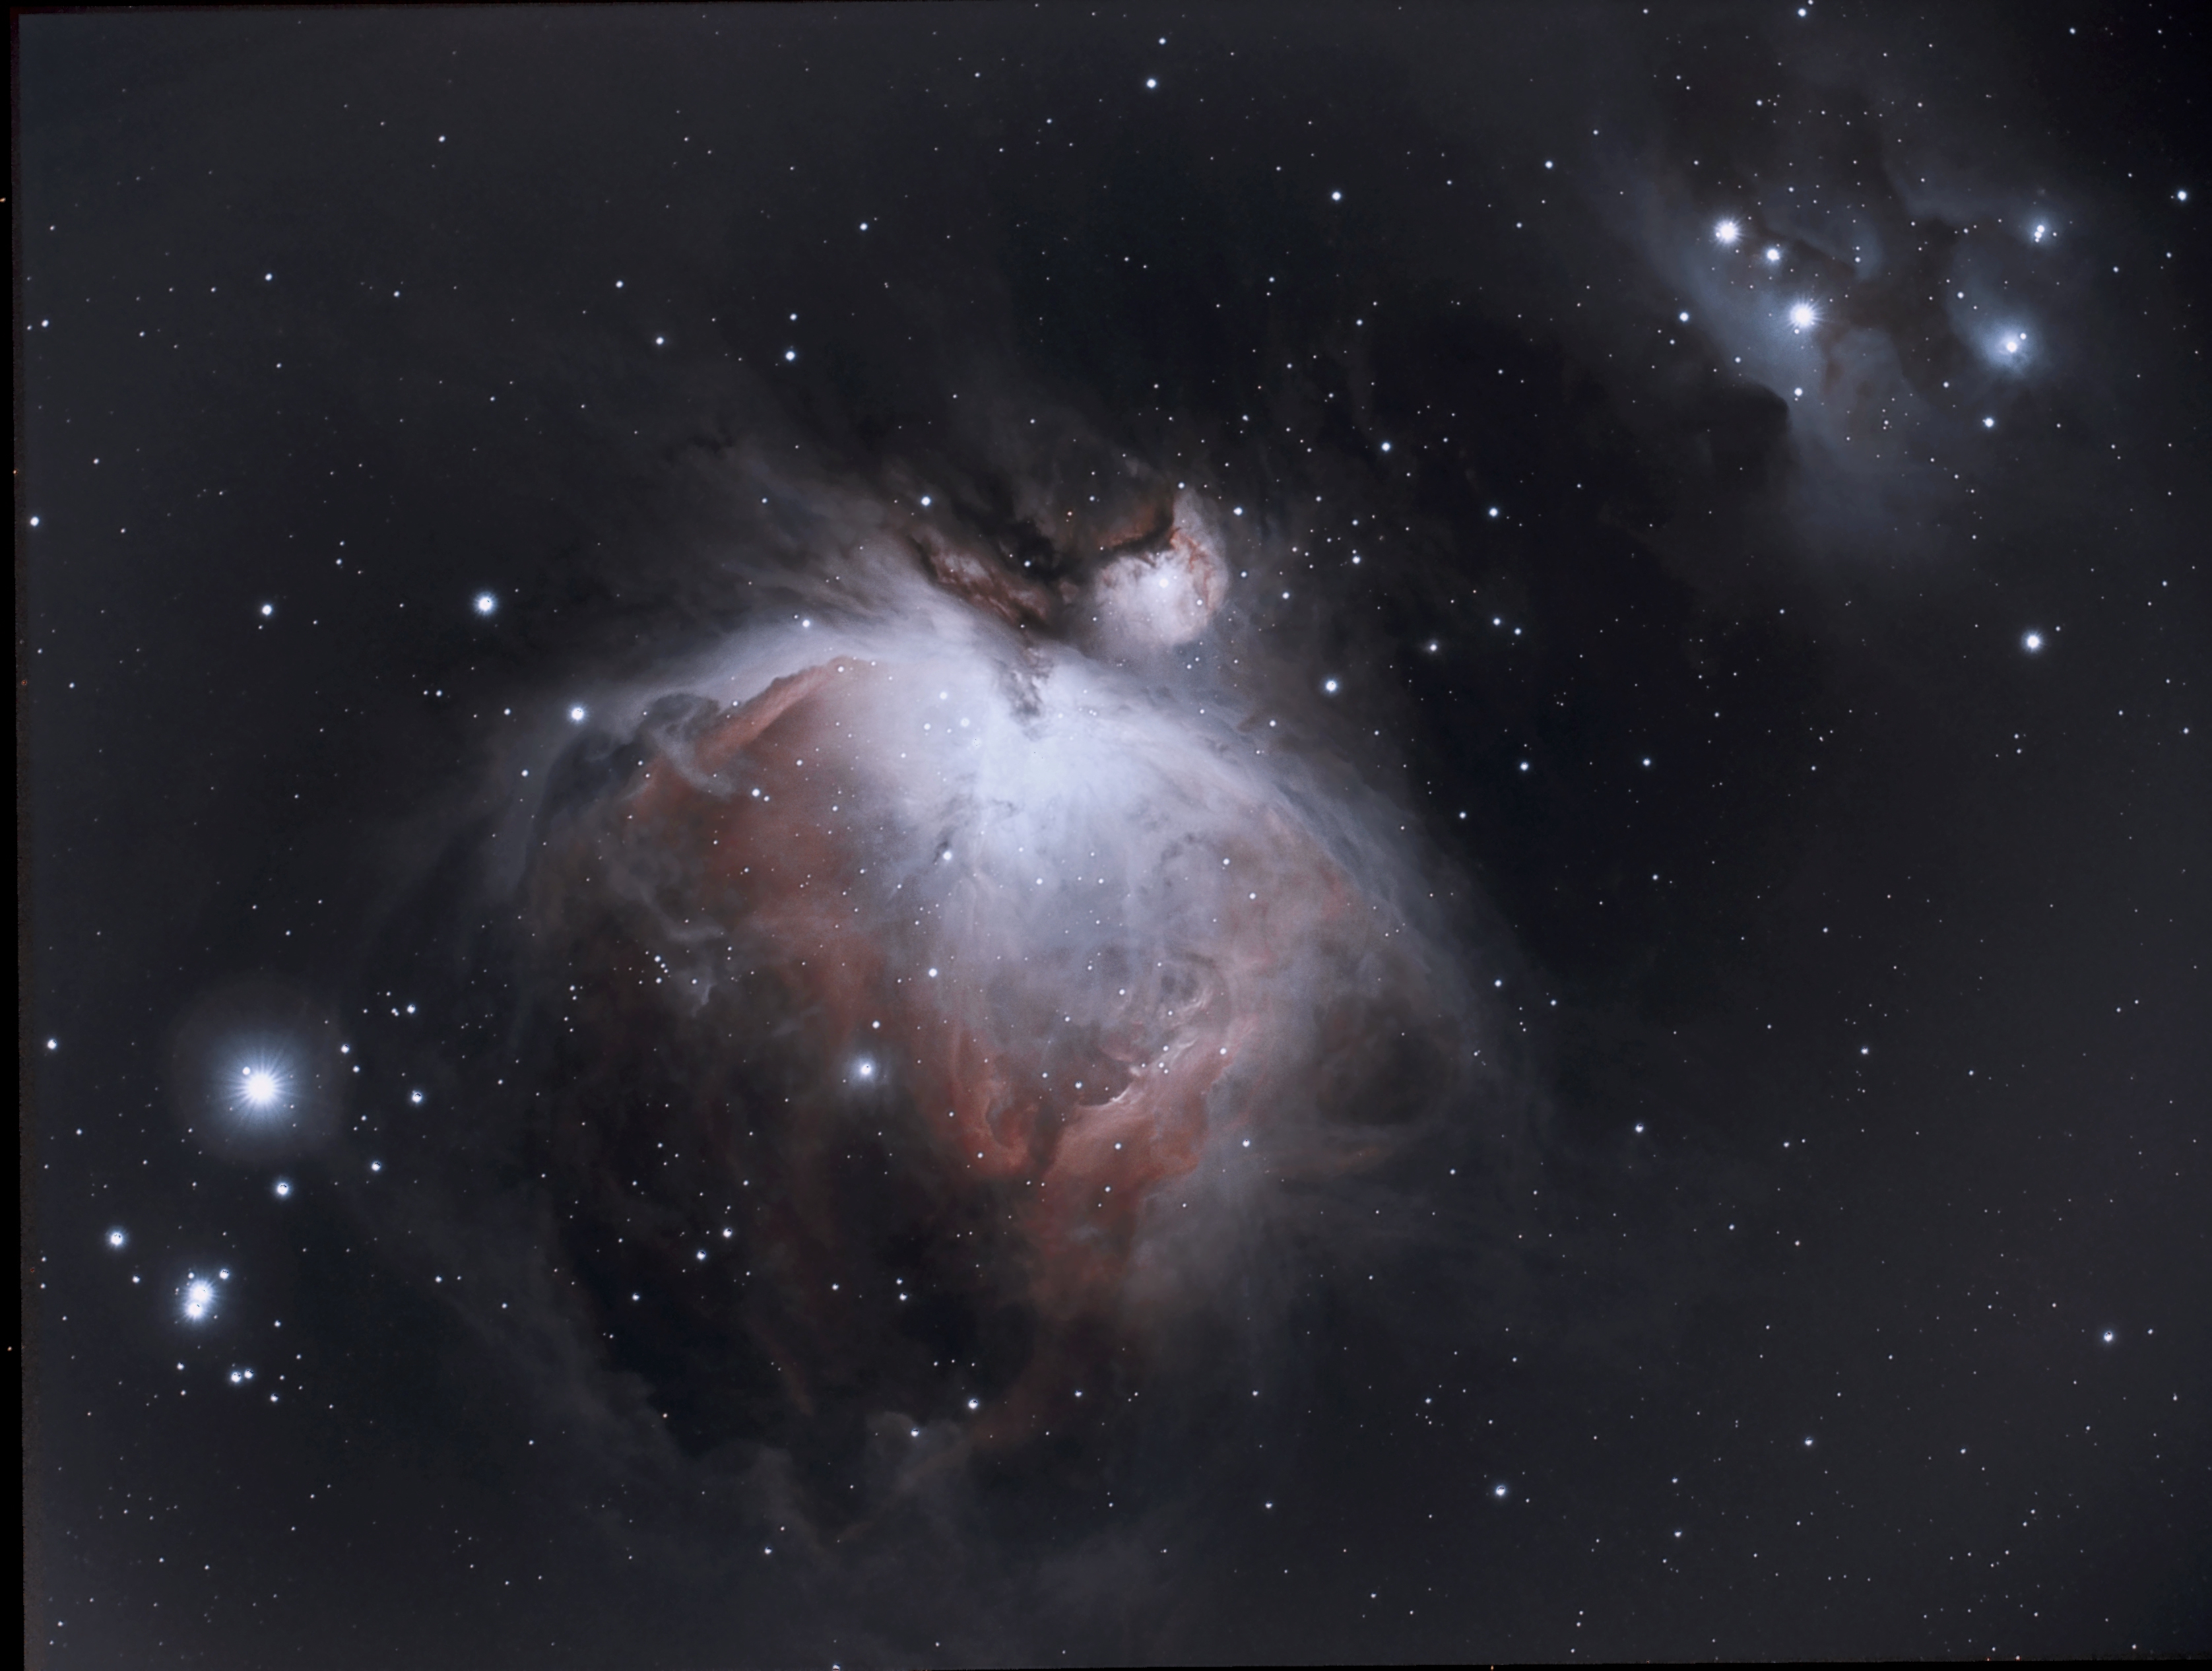
I set up my telescope in my backyard in Bellevue, WA (Bortle scale 7-8). I am using a color CCD (SBIG-STF 8300C) and a Astronomic CCD light pollution filter. My scope is a Takahashi – TOA130. For this workflow I used 290 frames of M42.
- 30 x 2s
- 60 x 5s
- 60 X 10s
- 60 X 1m
- 60 X 2m
- 20 x 5m
Why so many? Well, M42’s core is very bright, so I wanted to increase the duration of my frames by a small amount so I can capture detail. But to be honest its because I could. I live in the cloudy NorthWest so clear skies are precious.
As for prep-work. My ccd is cooled, so I have captured dark and bias frames at -15C . This is the temperature I use when I image in the field. I combined them in pixInsight to make masters. There is a great tutorial here. I have a collection of darks masters for different subframe intervals. For flats I am using an electroluminescent panel and targeting 41,351 ADU. Information about flats can be found here. My imaging software Sequence Generator pro provides a tool that helps with the process. Unlike dark and bias frames, I have to re-take flats for each image sequence because the focus changes. New imaging sessions means new flat master. Prep-work is mind-numbingly boring, tedious but necessary.
So with that I starting the M42 workflow.
The first part of the process is removing frames of low quality. To do this I use the SubFrameSelector script (scripts/batch processing)
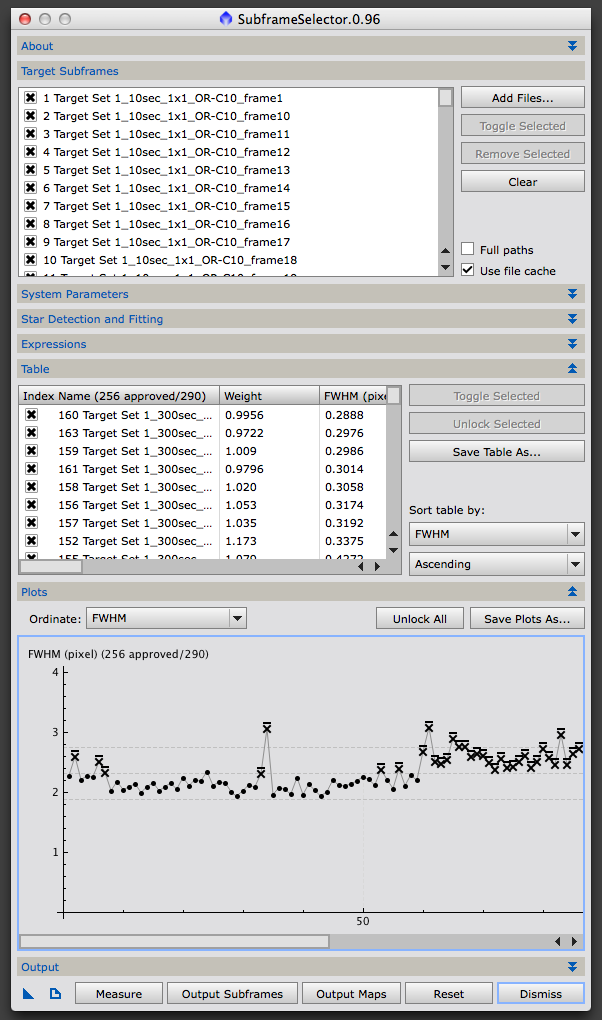
I configured my output directory, then I added all my light frames and selected “Measure” After the calculation was done, I expanded the plots section and clicked on the outlier frames, effectively reducing the number of approved frames. I then clicked on Output Subframes. I now have my light frames that I will be using for this image.
There is a series of next steps, Calibration, Debayering, Star alignment and Integration. The order is important. PixInsight has a script that does most of the heavy lifting.
Welcome to the BatchPreprocessing script. (Scripts/ Batch Processing/ BatchPreprocessing). Prior to using it though we have to do a trick (for lack of a better word) with the CosmeticCorrection (CC) process which removes bad pixels. The trick allows me to include cosmetic correction as part of the Batch Processing process.
To do this, I launched CosmeticCorrection Process. I added one of my light frames, selected my master dark, and used the defaults for hotpixel detection. As my camera is a color CCD i selected the CFA option. I then applied global (the full circle) and verified that I had no errors.
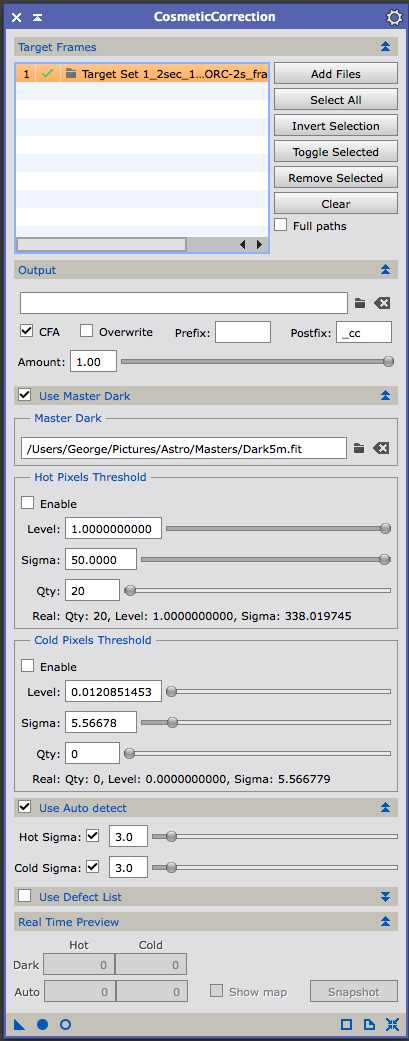
I dragged the triangle to the pixInsight desktop which creates a process icon. I renamed it CosmoCor. I am now ready to use the BatchPreporcessing script.
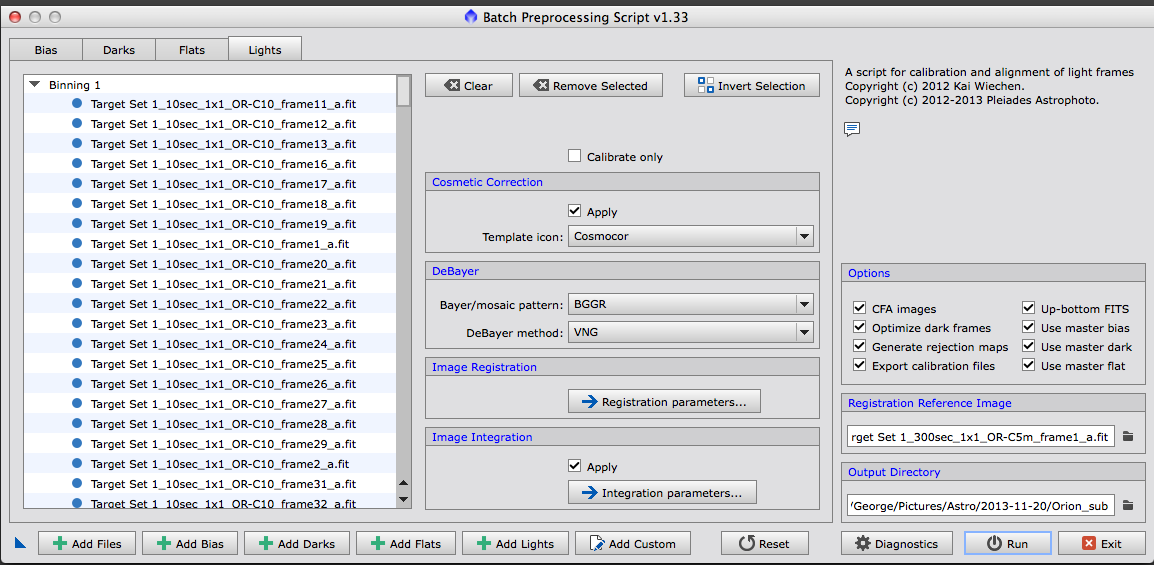
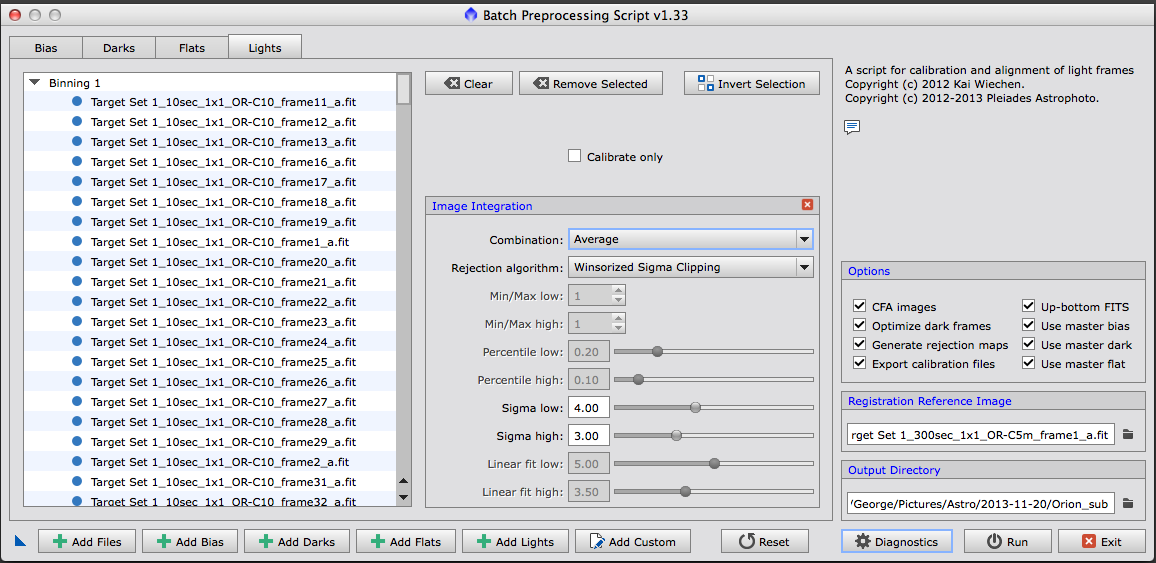
I used the defaults. Adding my approved lightframes, my master dark, bias and flat. I also selected cosmetic correction and pointed at the script I created above. Run and wait……..
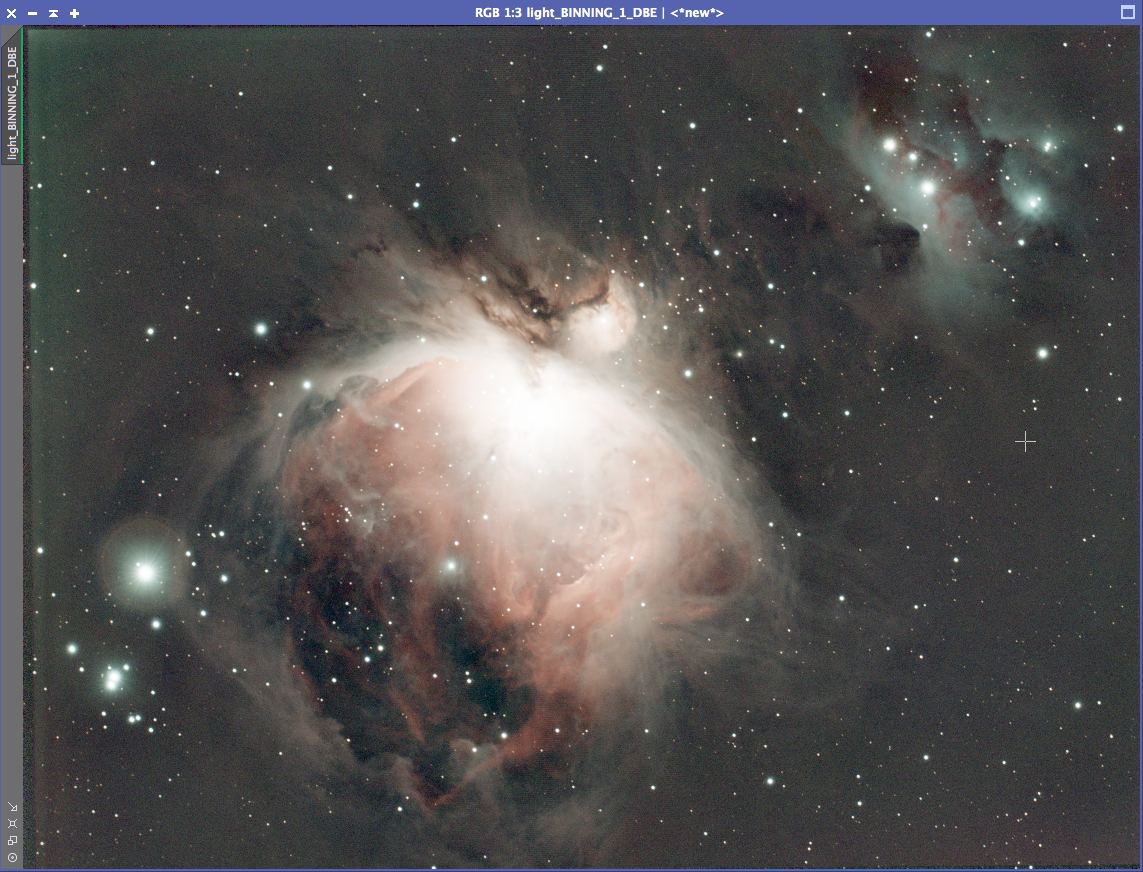
After a considerable amount of time I got a first look of my picture. Here it is after a quick stretch (CMD+a)
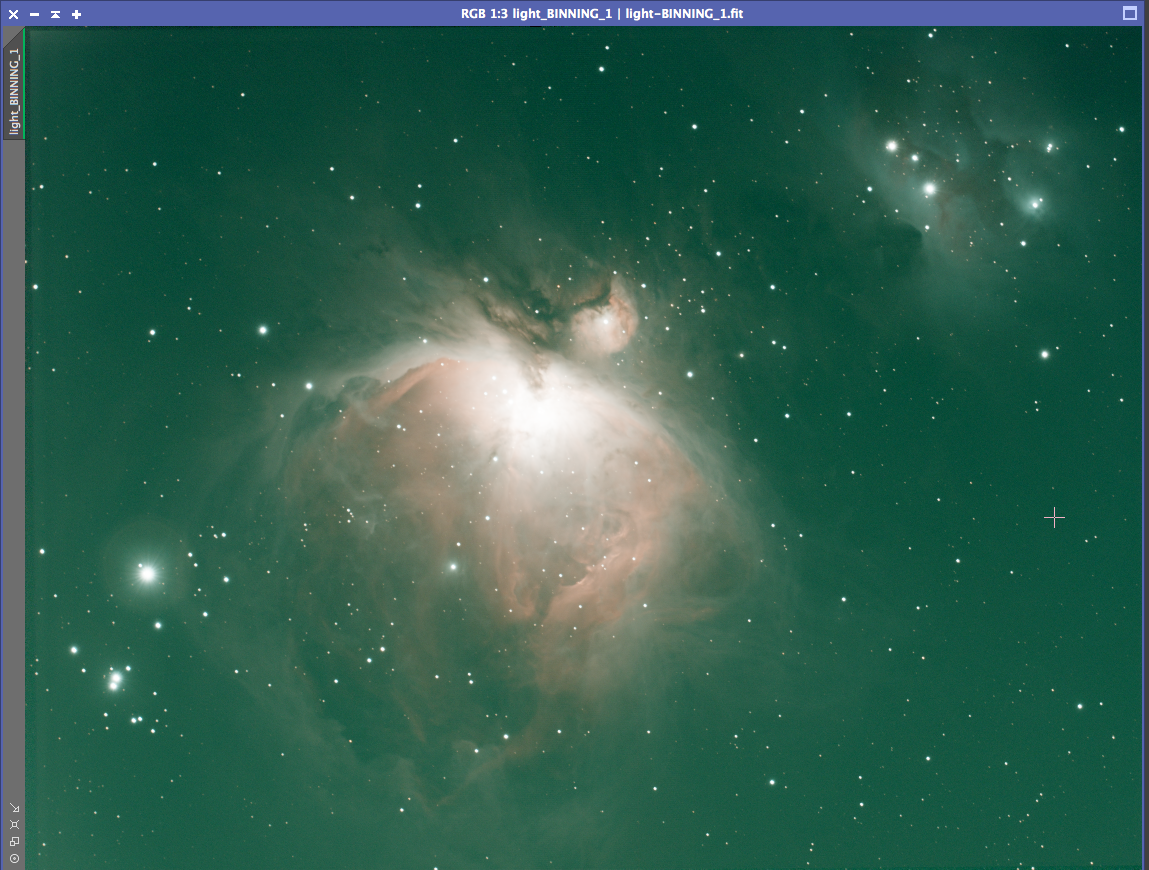
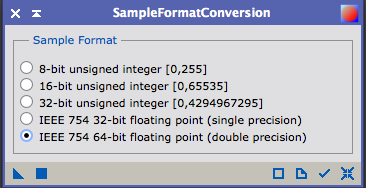
The general advise at this state is to use the SampleFormatConversion and set it to 64-bit float as this picture should have a wide dynamic range. So that was the next step.
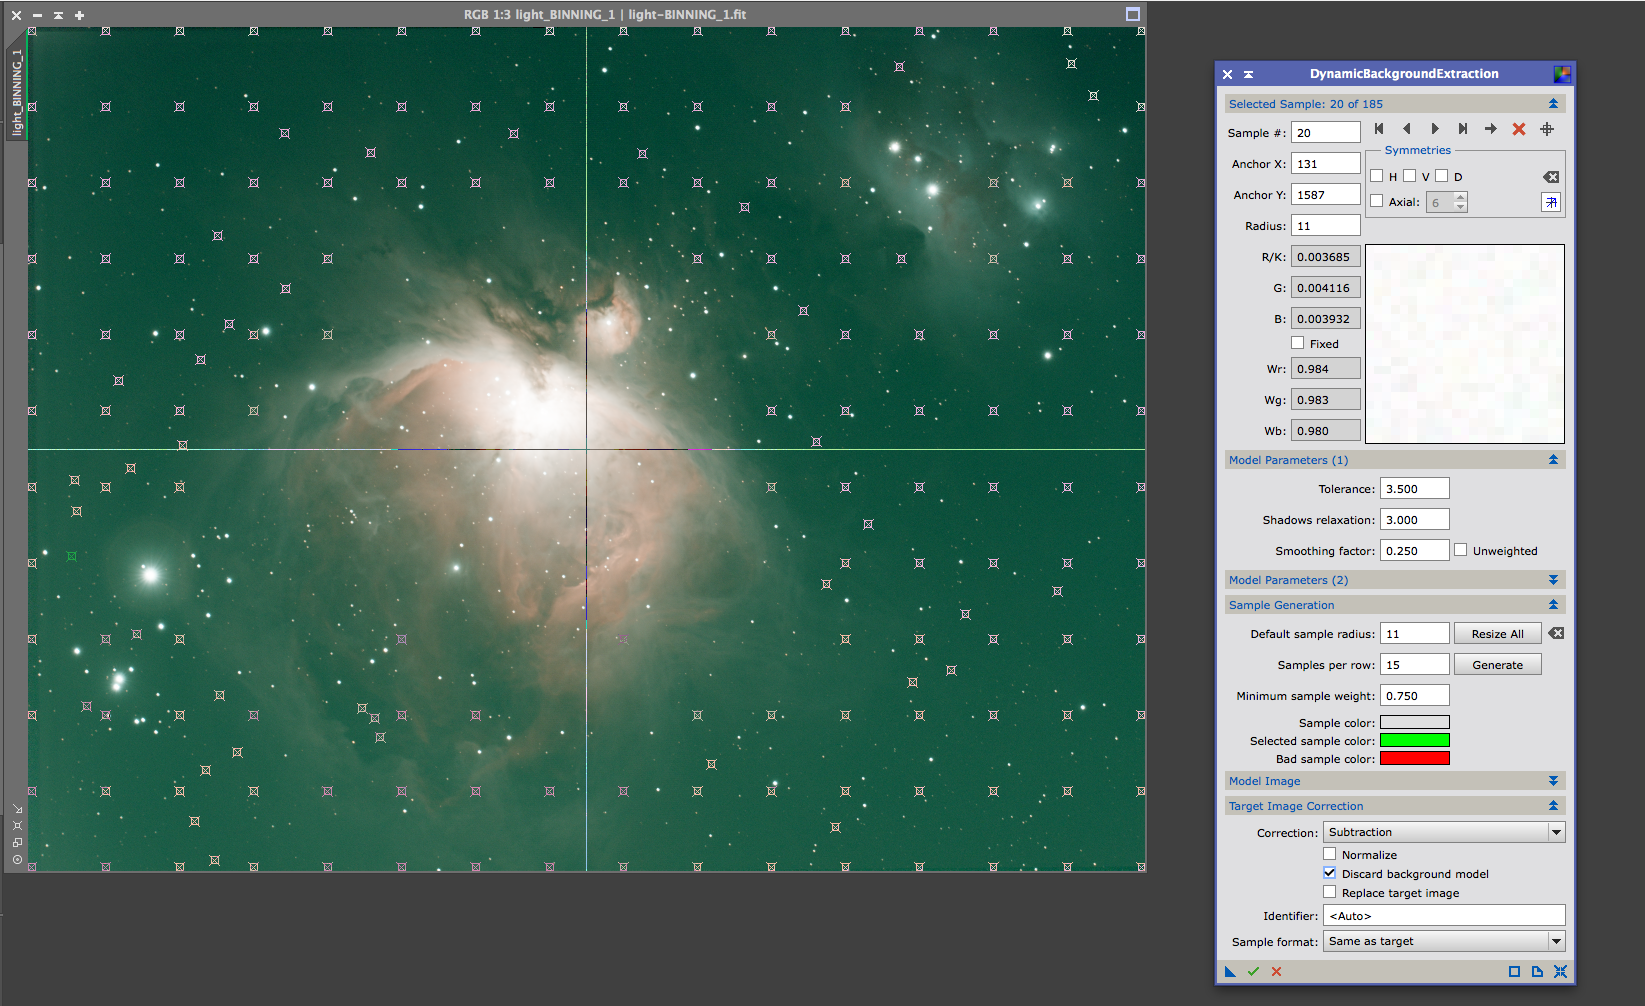
The next step is to extract the background. This is probably the most satisfying step. There a lot of great tutorials about the DynamicBackground extraction process. I had to experiment with the values, but I get consistently good results with the tolerance level at 3.500. I also change the default radius to 11 (spinal tap) and generate 15 samples per row. The next step is to carefully position the sample markers only on background areas.
The result. Ugh. Still ways to go
First a ScreenTransferFunction (STF) and a HistogramTransformation (HT) . I used the autostrech in STF (the nuclear symbol) and dragged the triangle symbol to the bottom of the HT dialog.
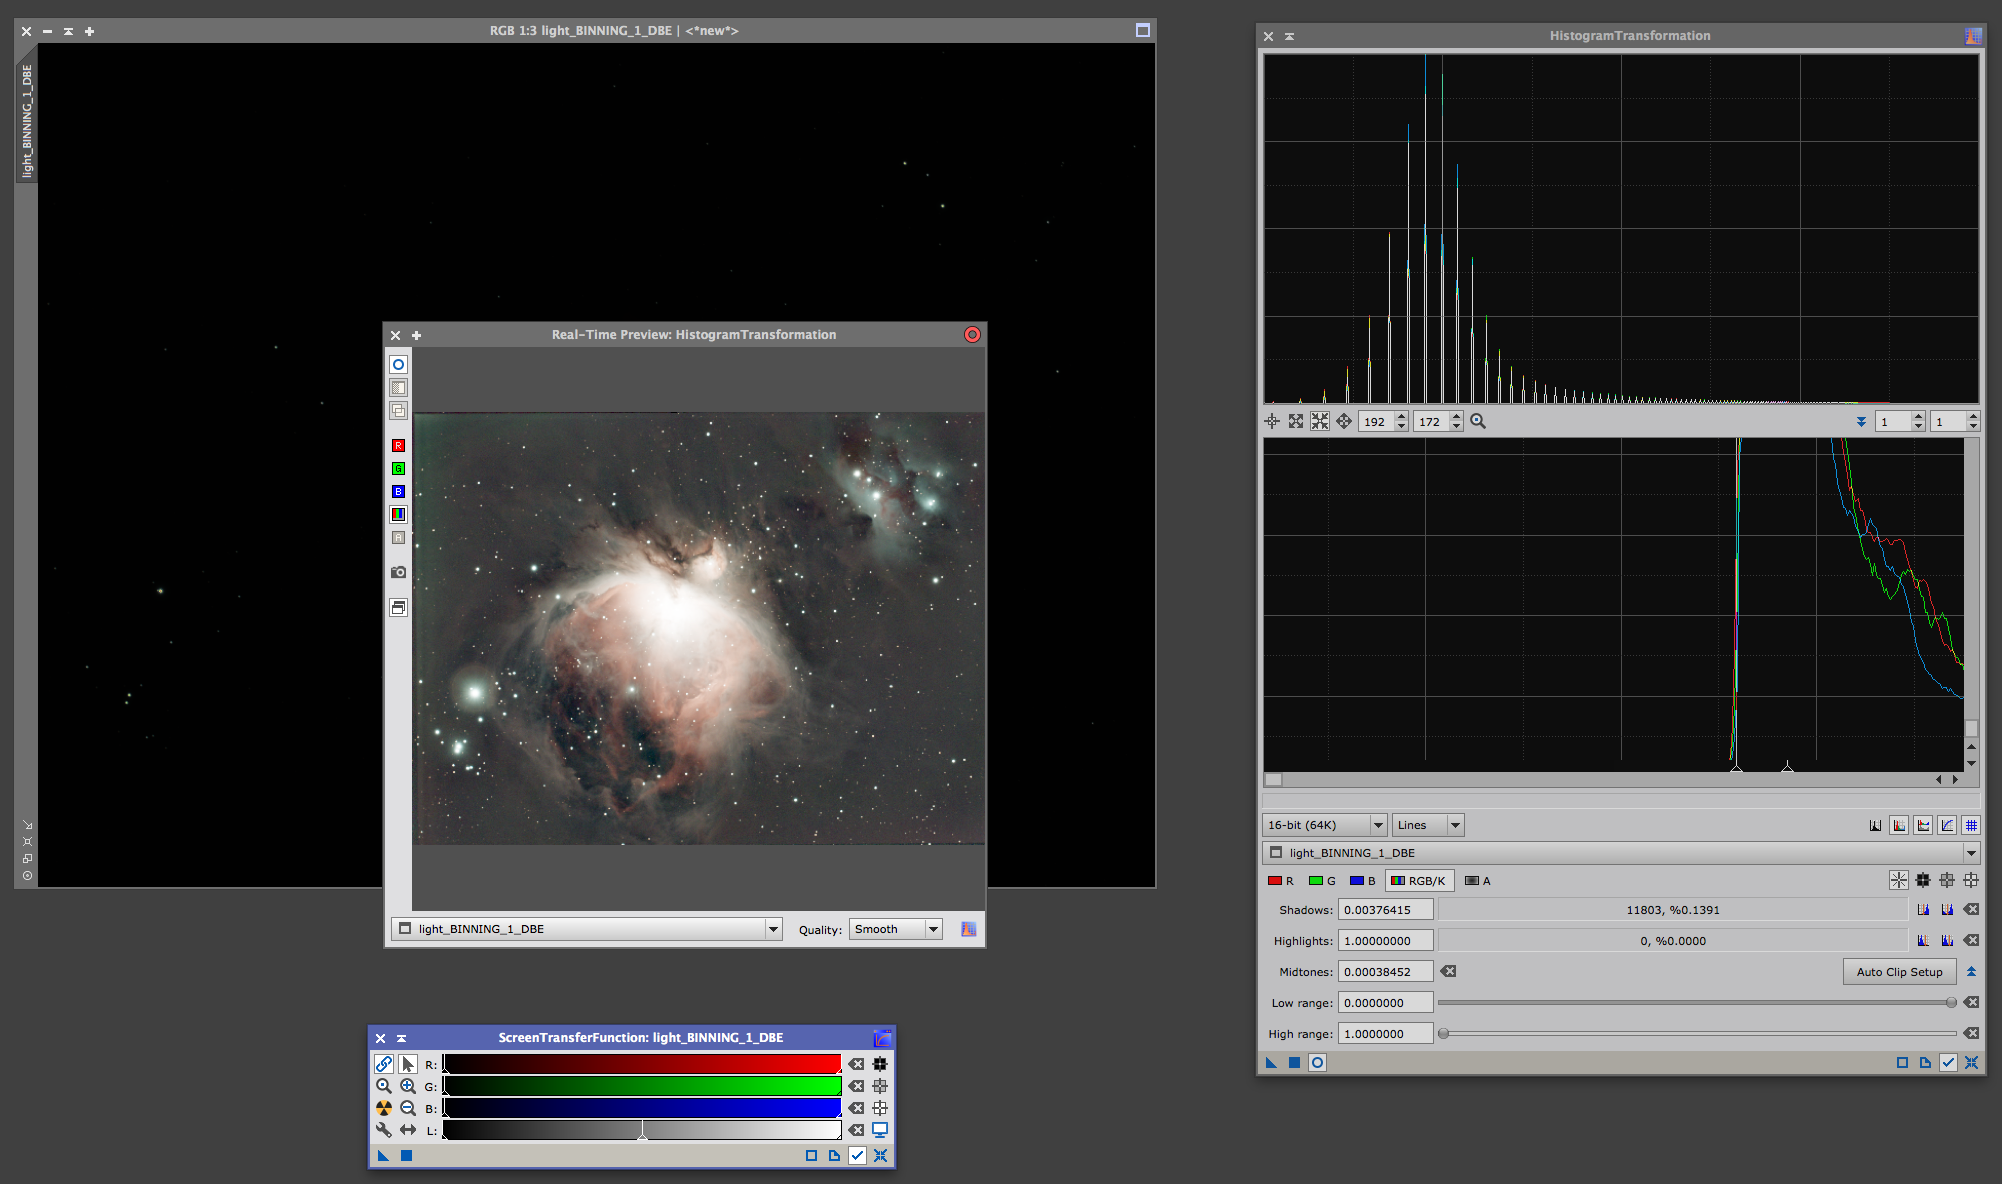
I then used live view and made sure that I did not clip any shadows. I also moved the mid-point marker until a bit until I was able to get the picture a bit darker. This is the first HT stretch so It is ok if the picture is a bit funky
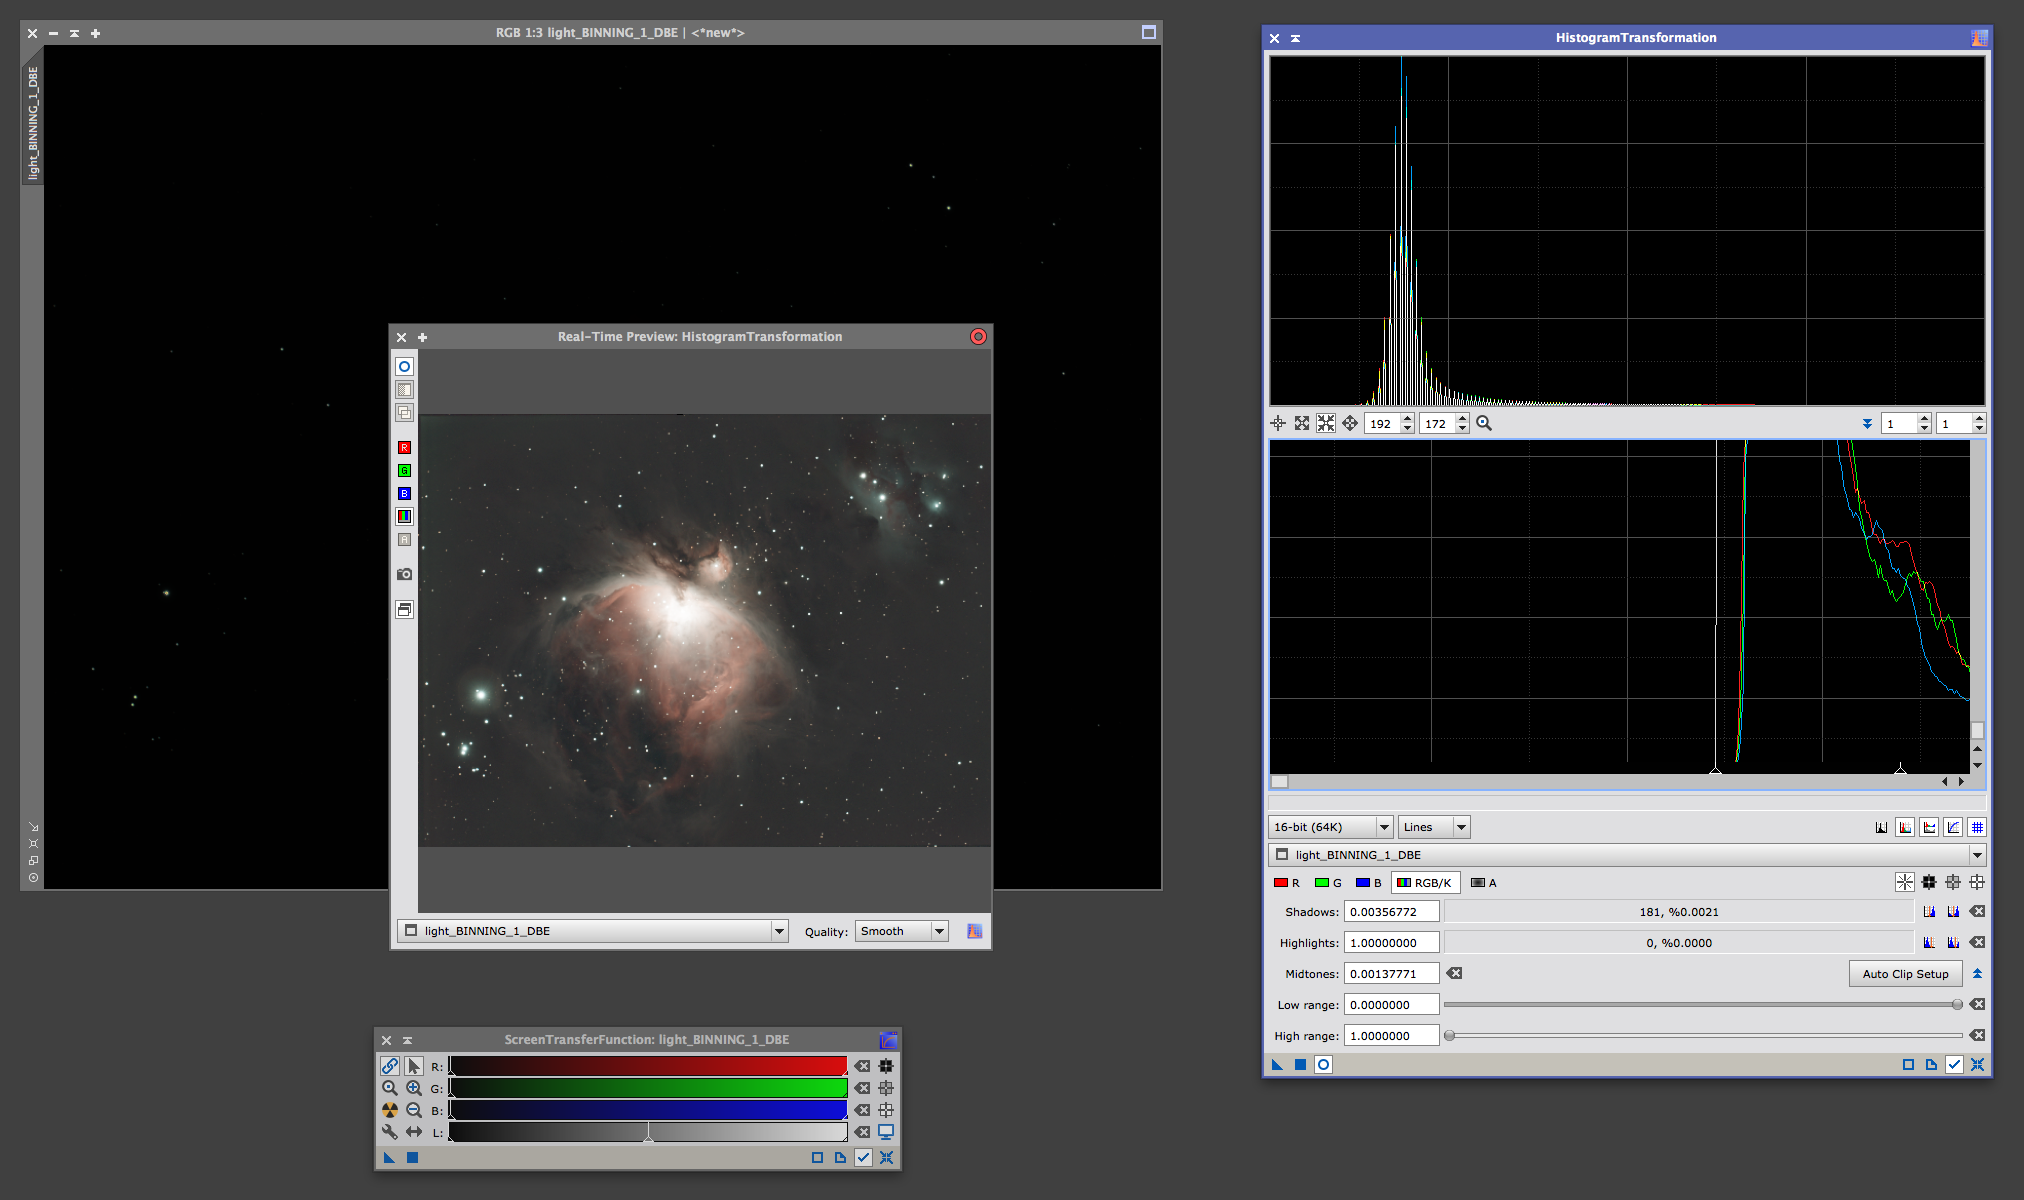
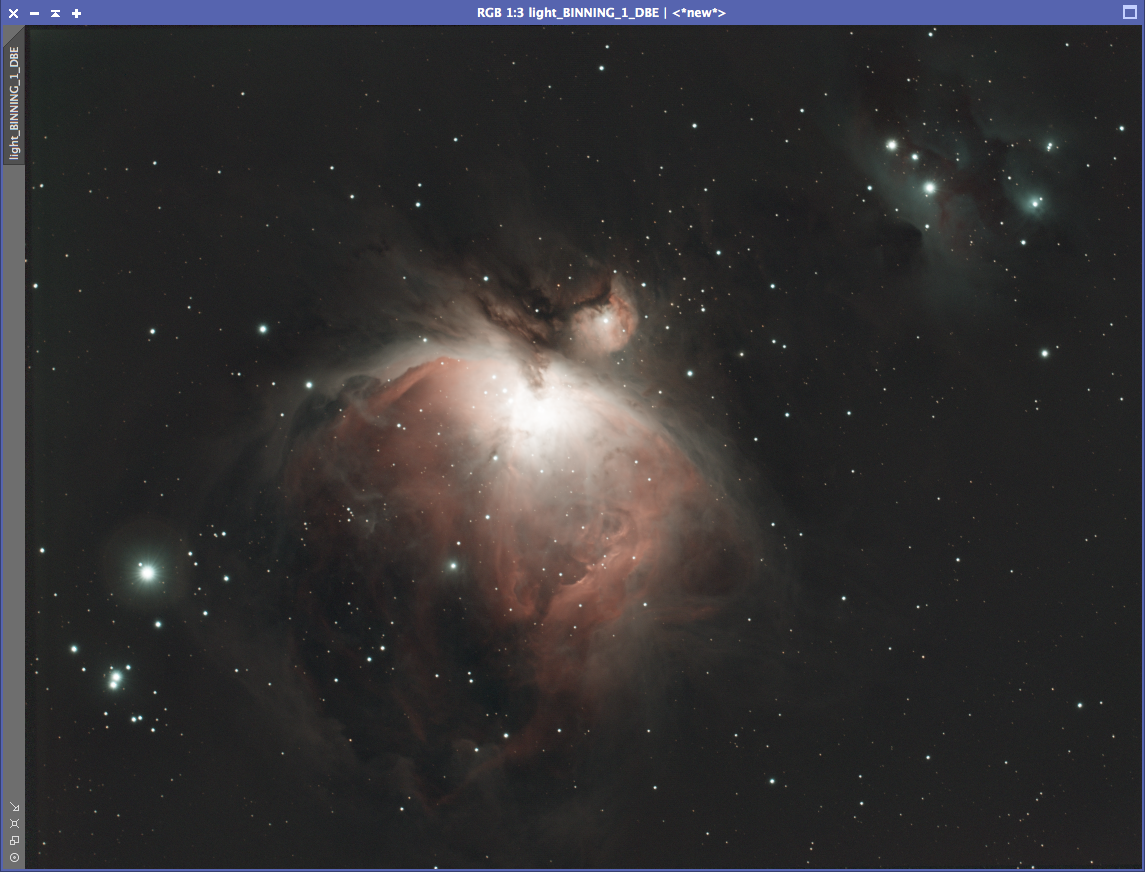
So here are. A bit better
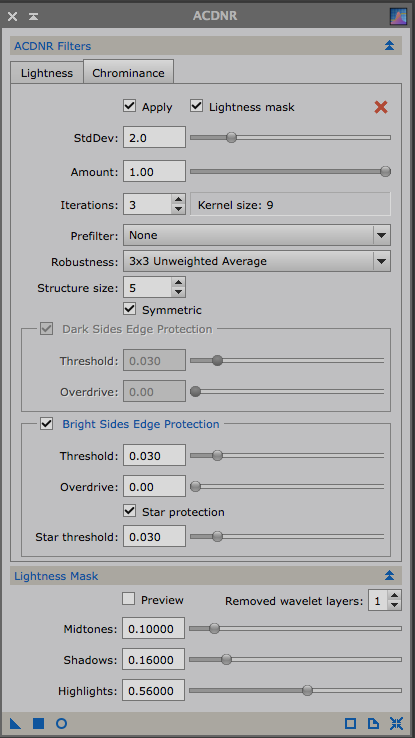
Now, I am ready to start tackling the noise. Again there is a lot of experimentation in this step. The main process here is ACDNR. There will be two different noise reductions. The first will be on luminance, the second on chrominance. In ACDNR I used the mask preview to create my mask.
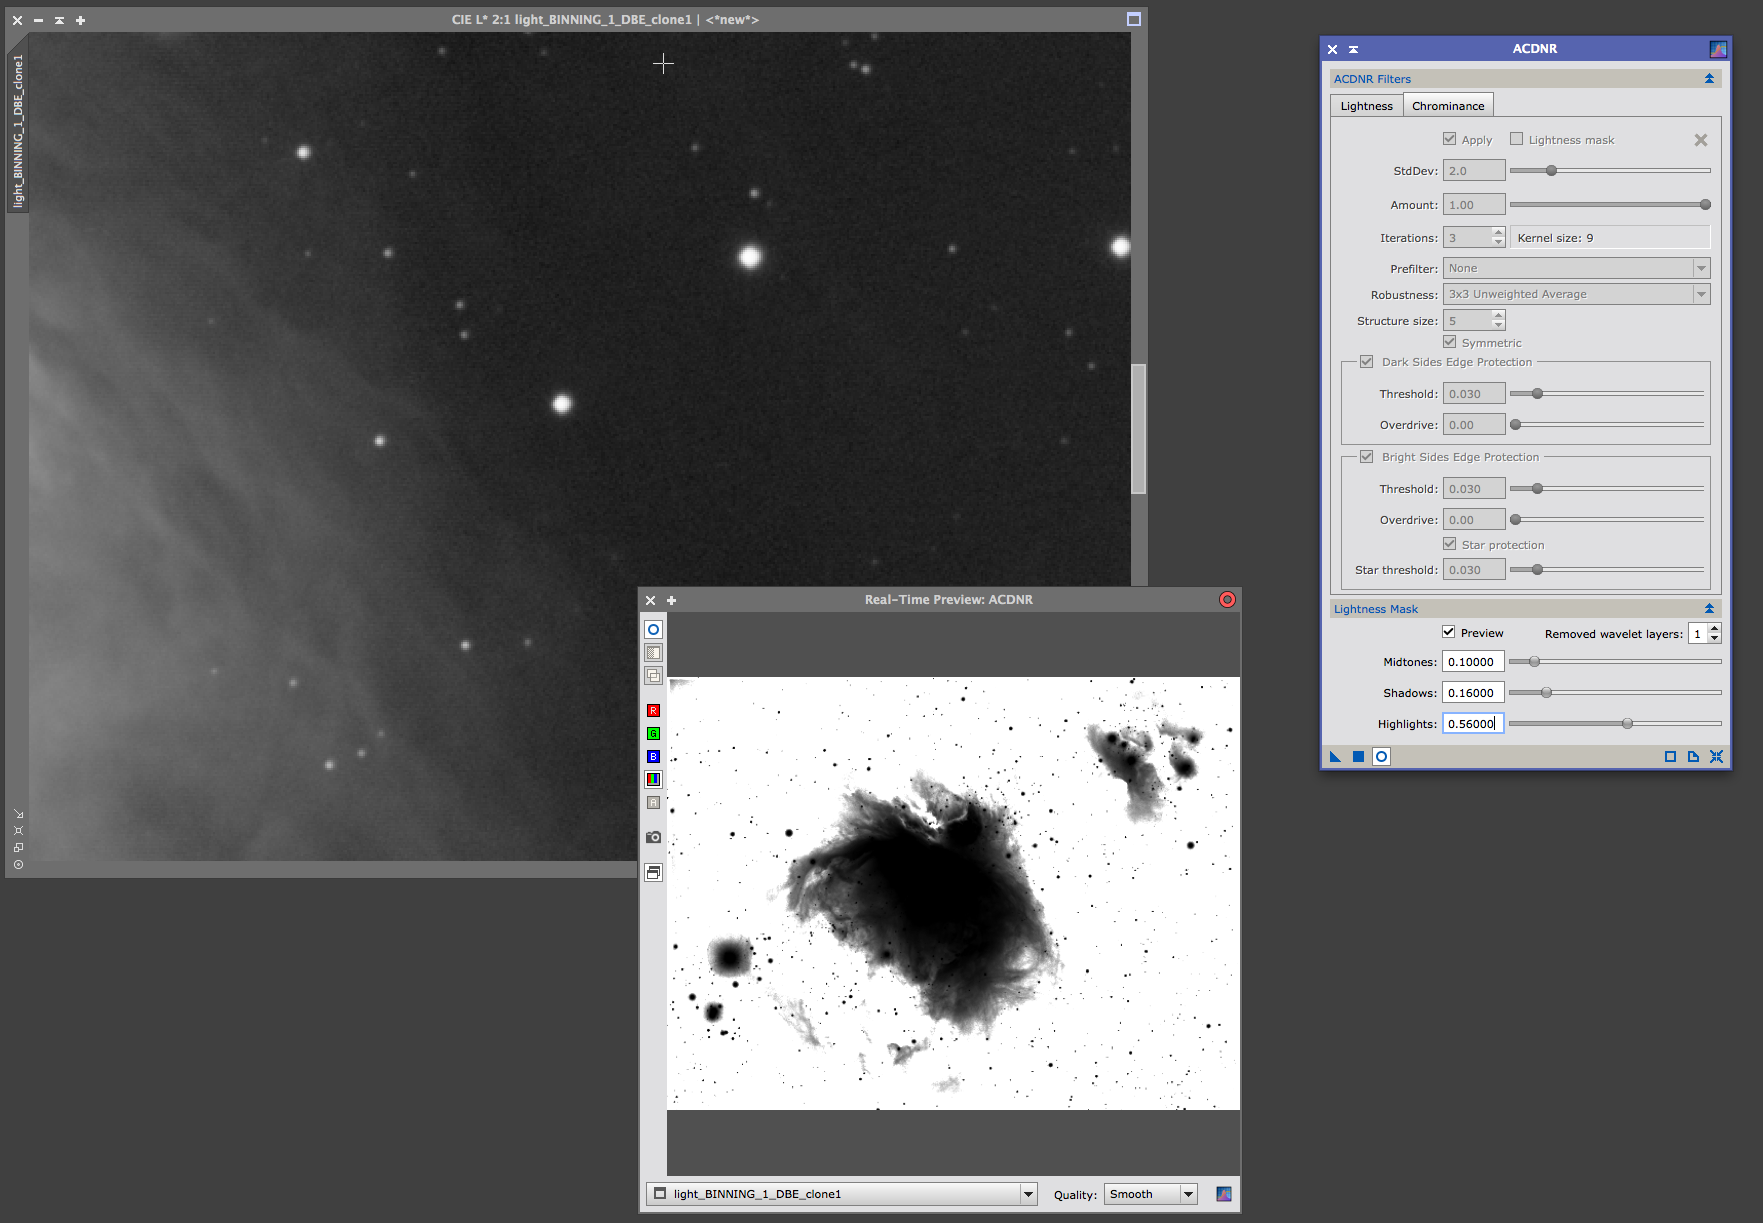
For luminance, I set the picture to luminance mode (CTRL-SHIFT-L) and zoomed it in a place that I can see the background noise.

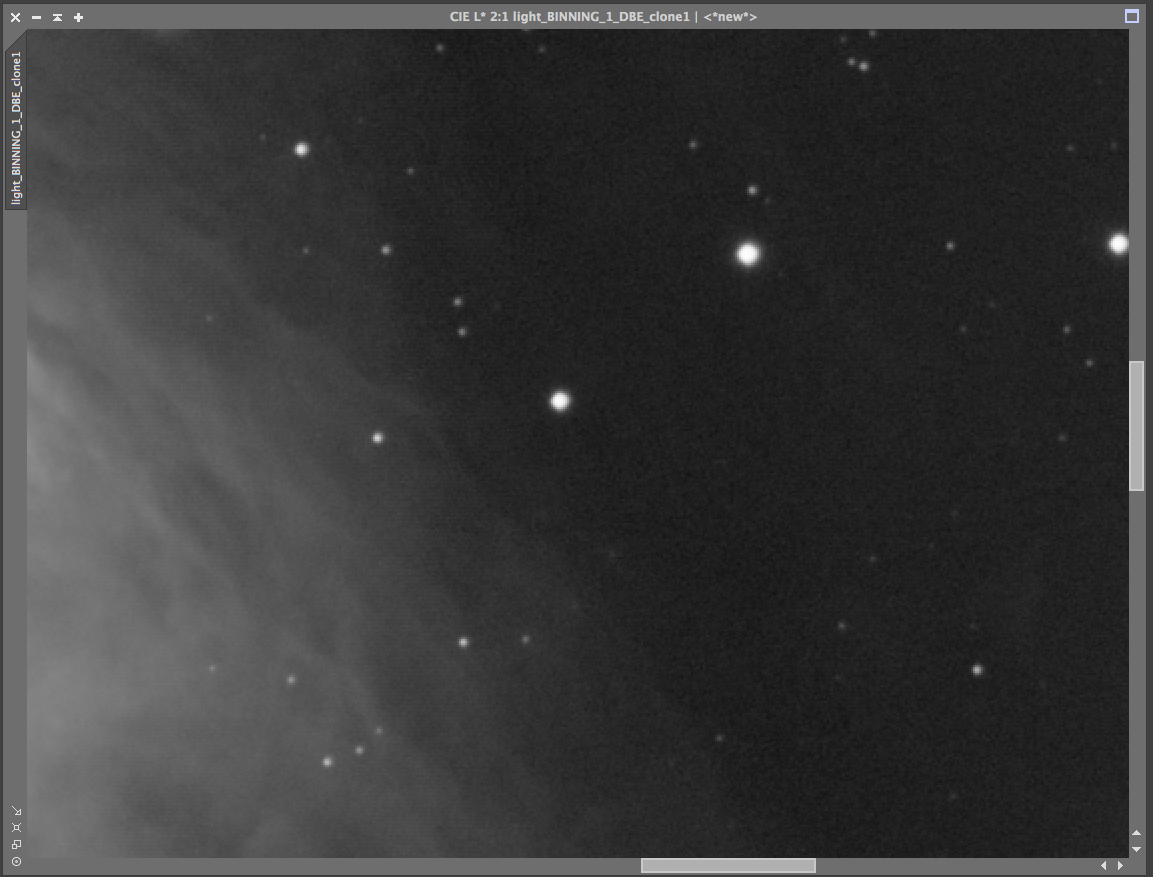
After a bit of experimentation

Before
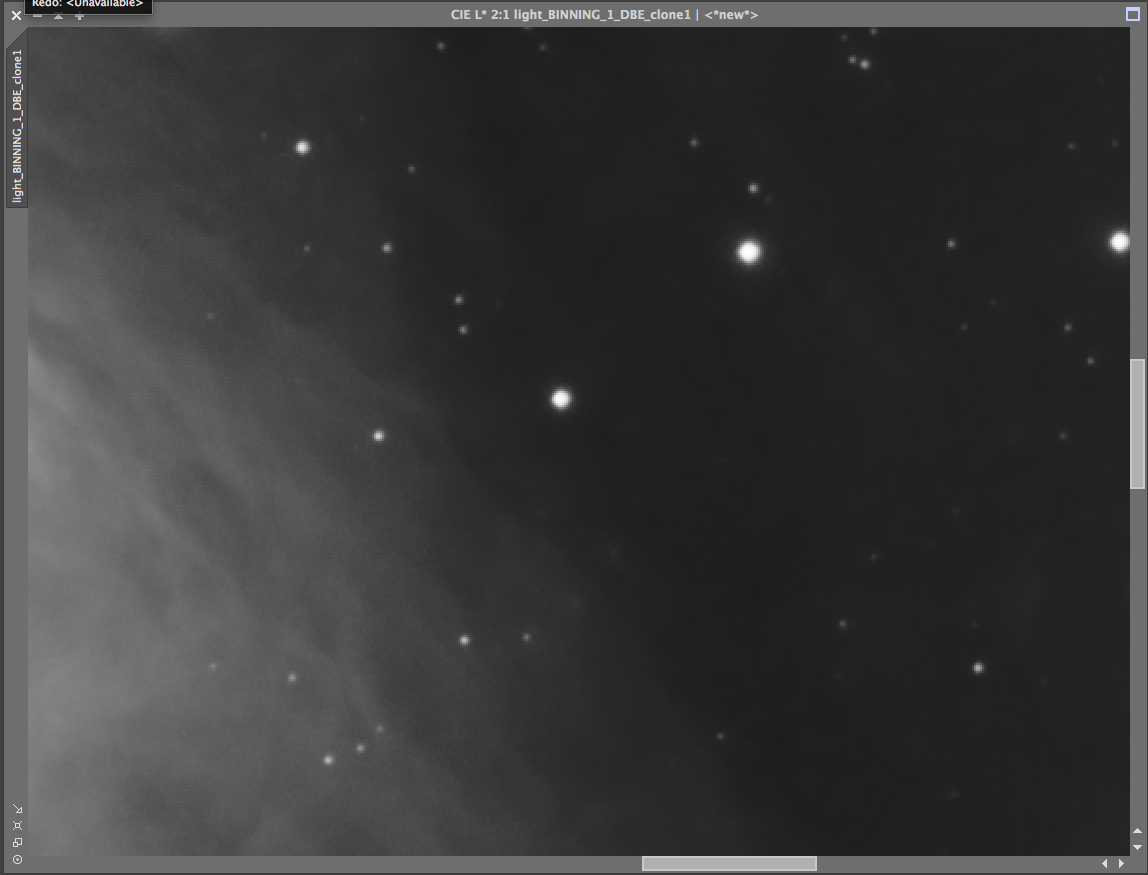
After
I repeated the same for chrominance after selecting chrominance mode


With the noise removed my next step is to use HT again this time more aggressively. Since my background is good, I need to use a mask in order to protect it.
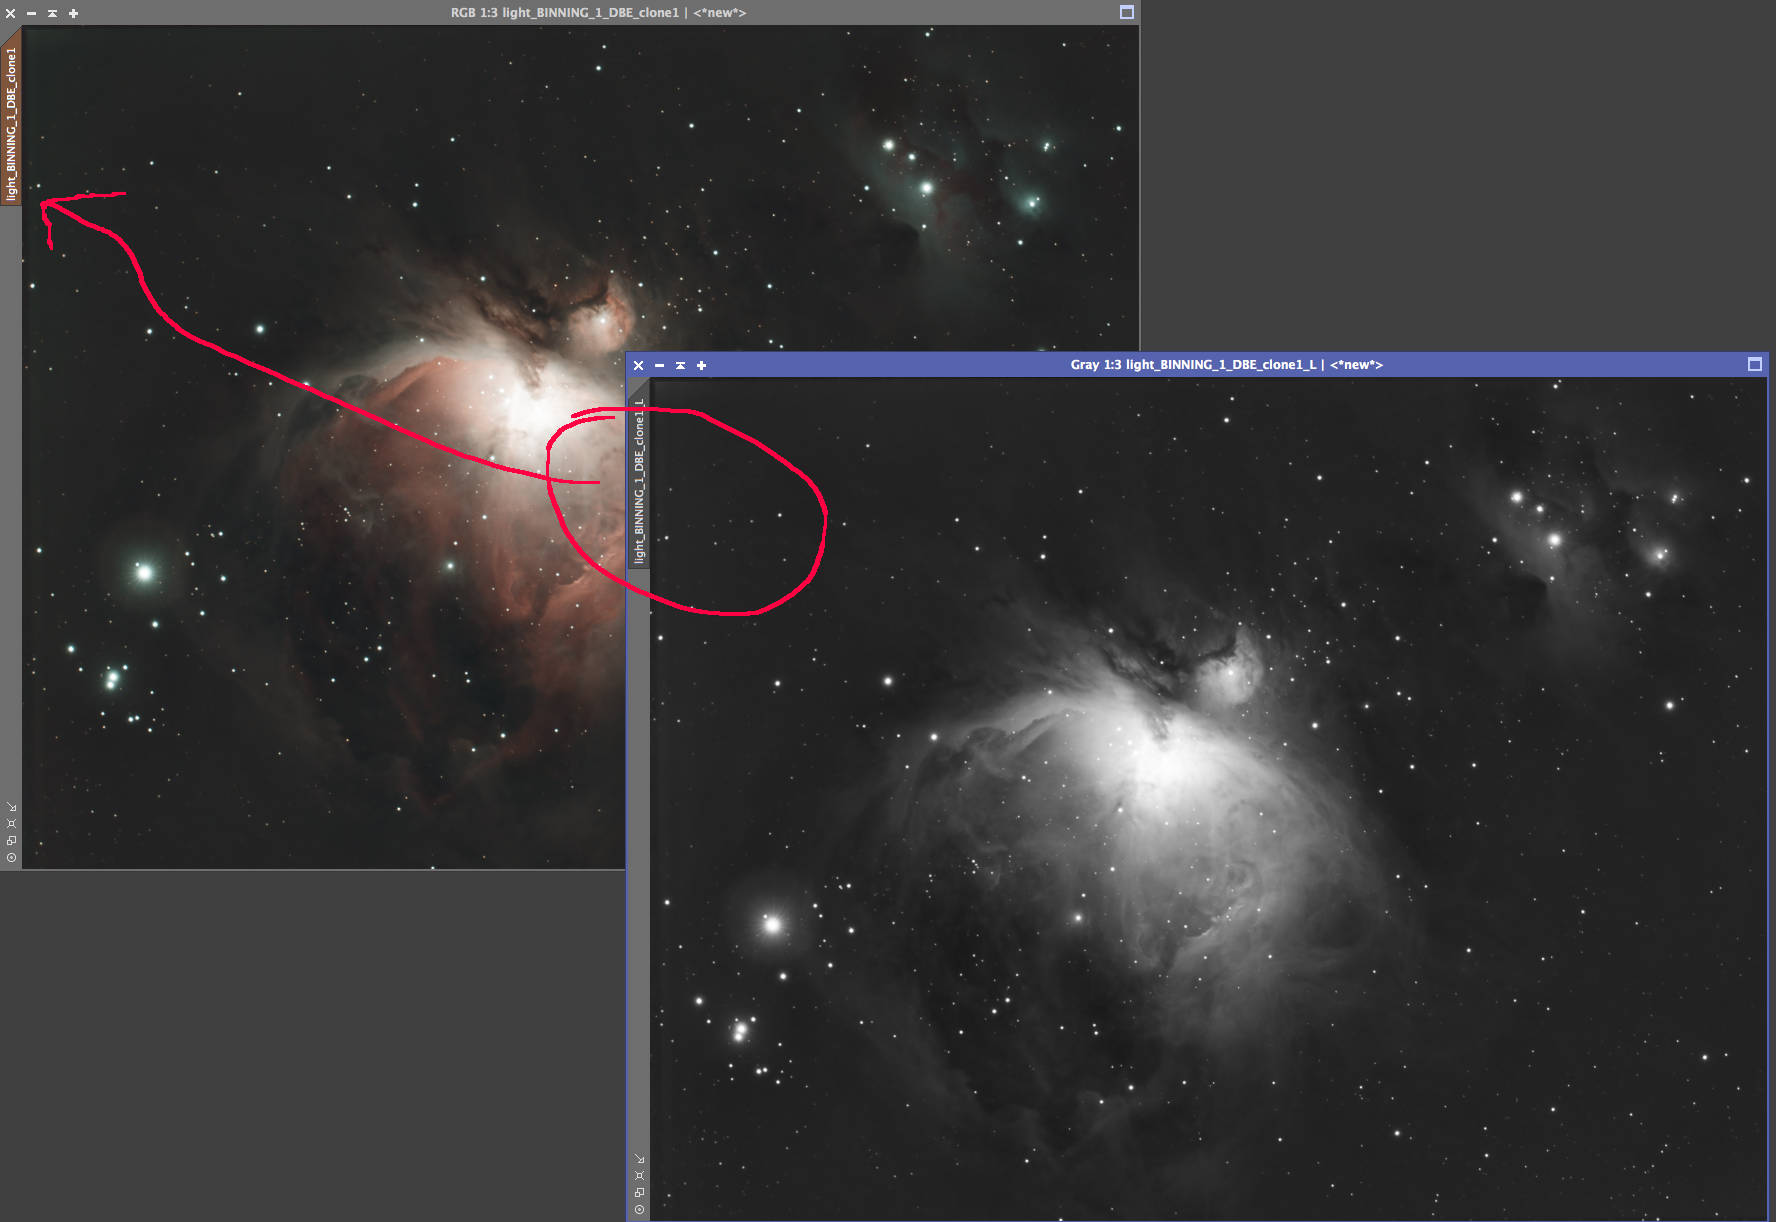
I used ChannelExtractor.
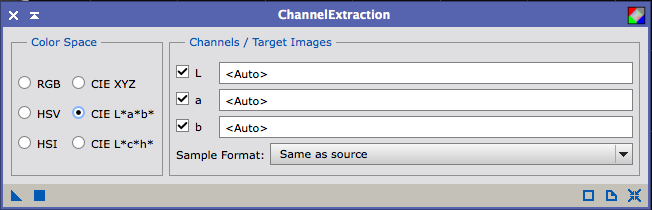
Then I took the lightness channel and moved it as a mask.
Push the shadows and midtones in HT
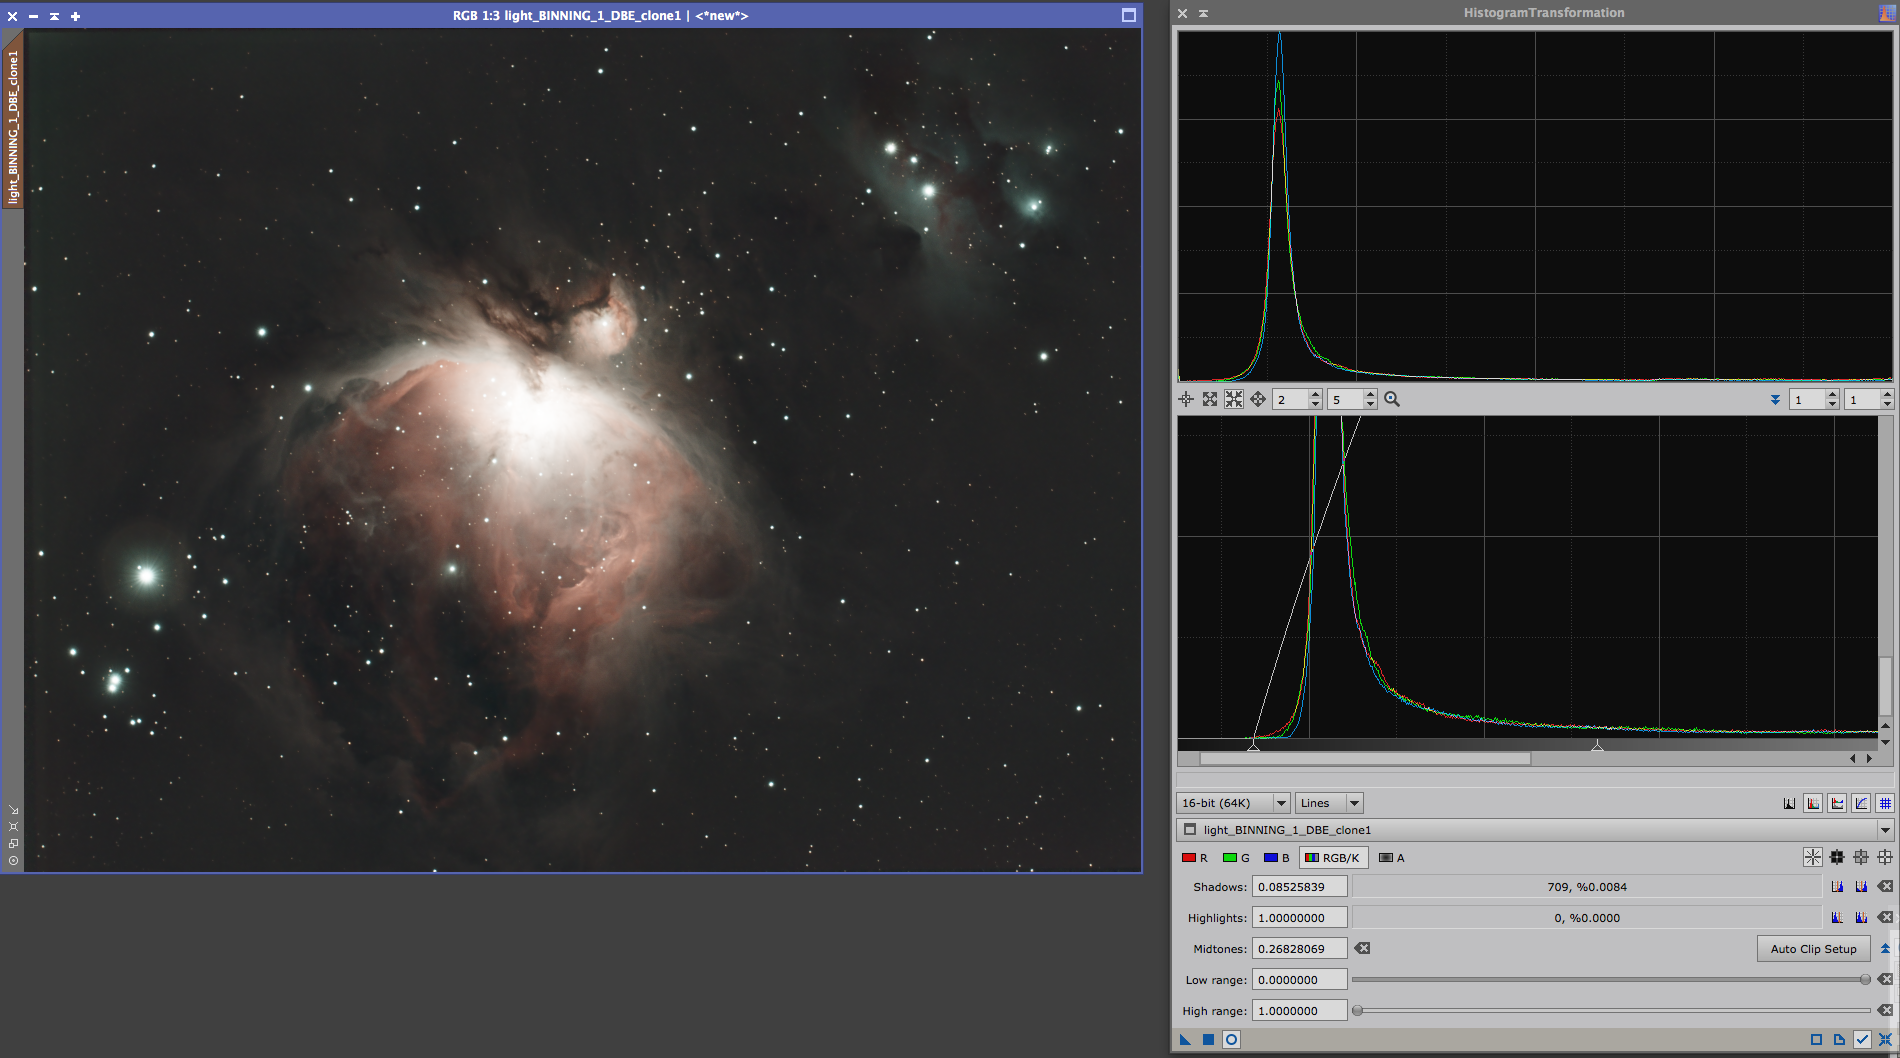
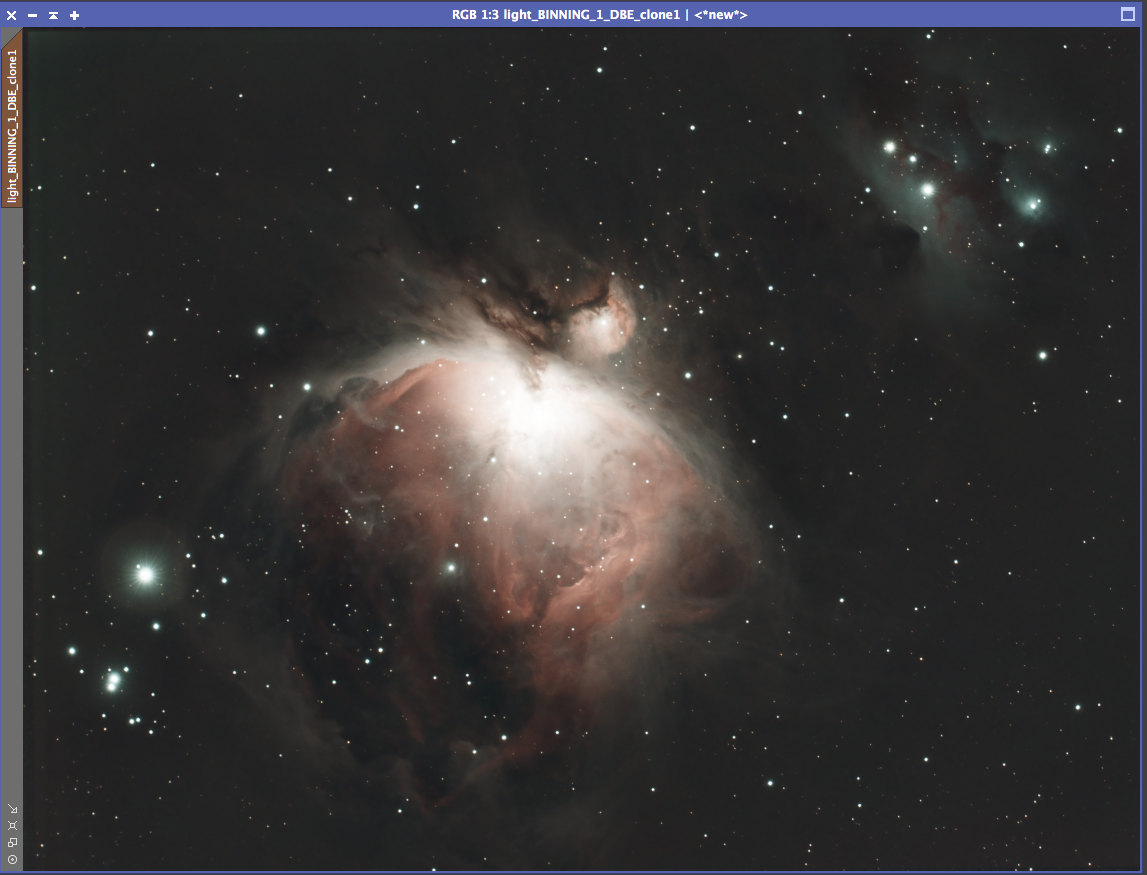
And we are here
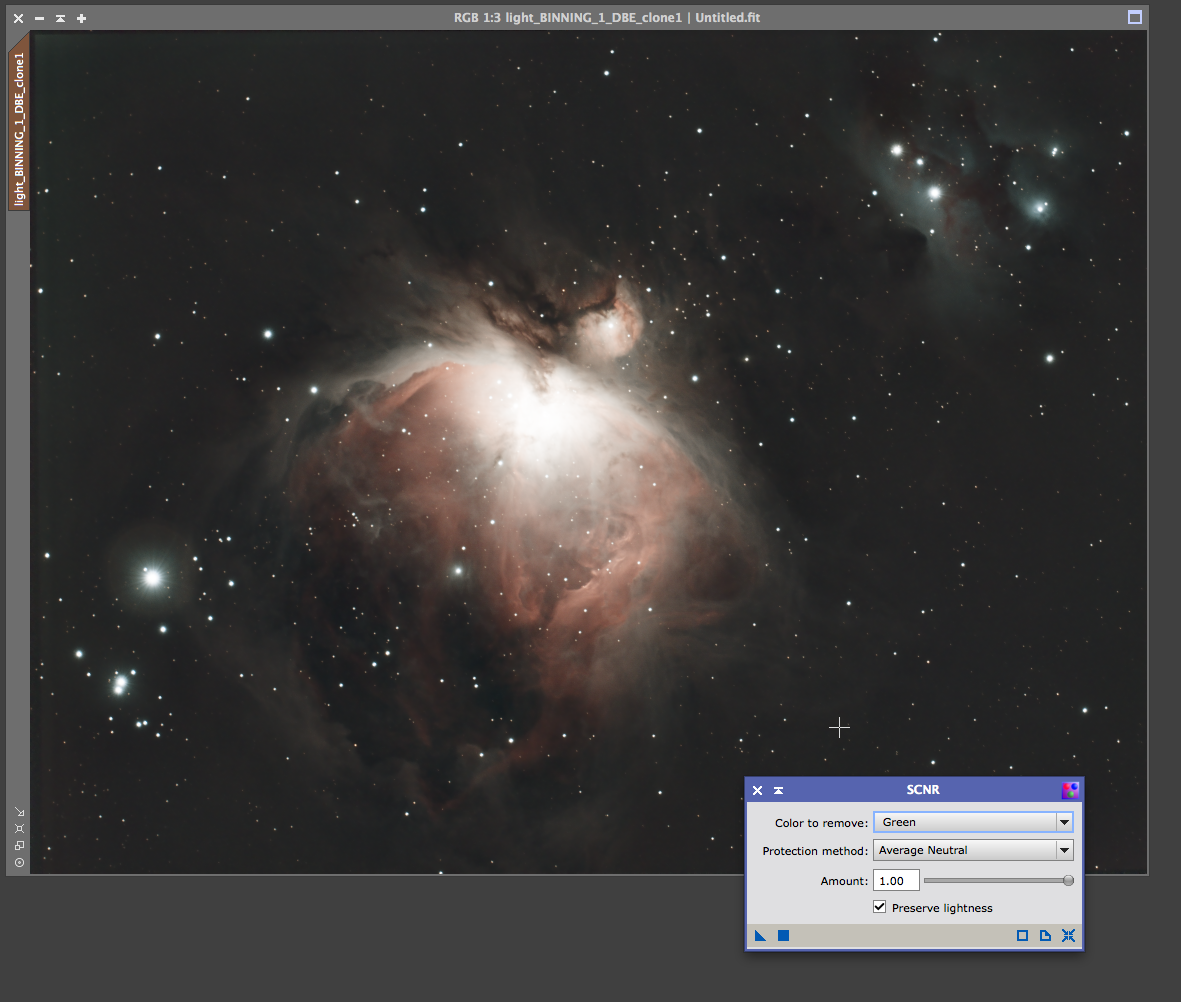
To neutralize the green I used SCNR
Then adjusting the Curves to make it more vibrant

Next I performed HDRMultiscaleTransform

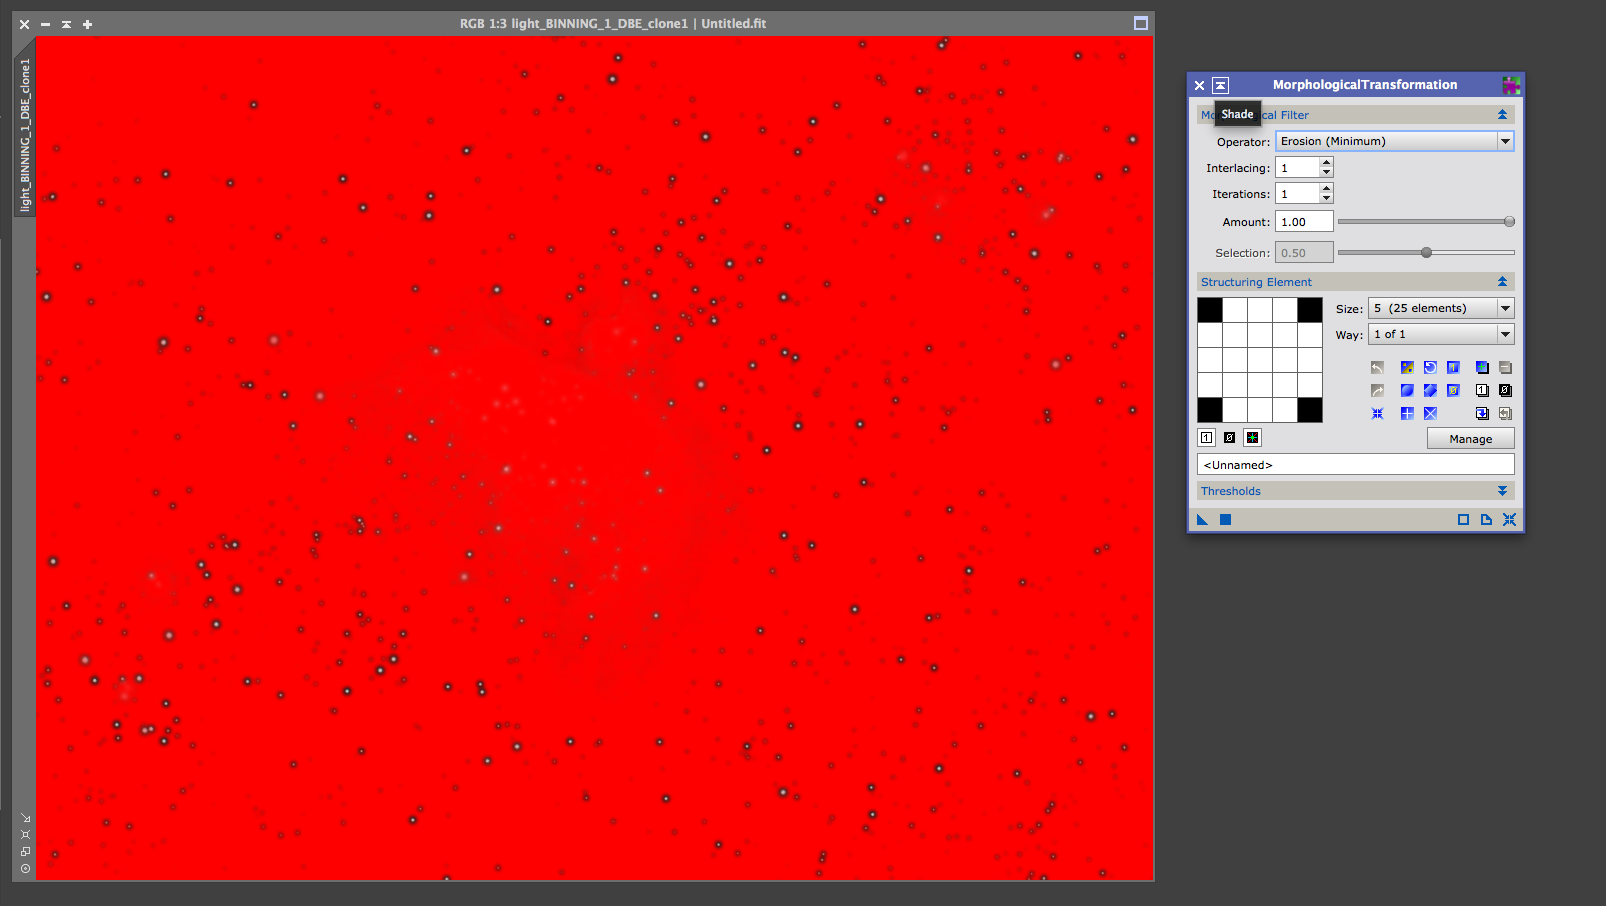
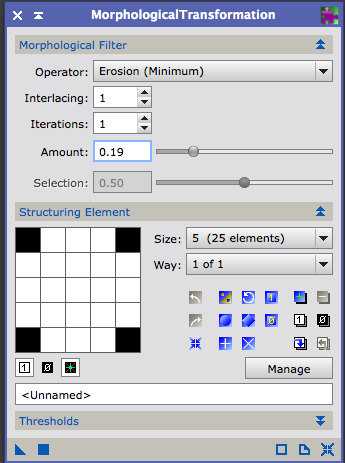
To decrease a the star field I created a StarMask and then a MorphologicalTransformation
After some experimentation I decided
And here we have before
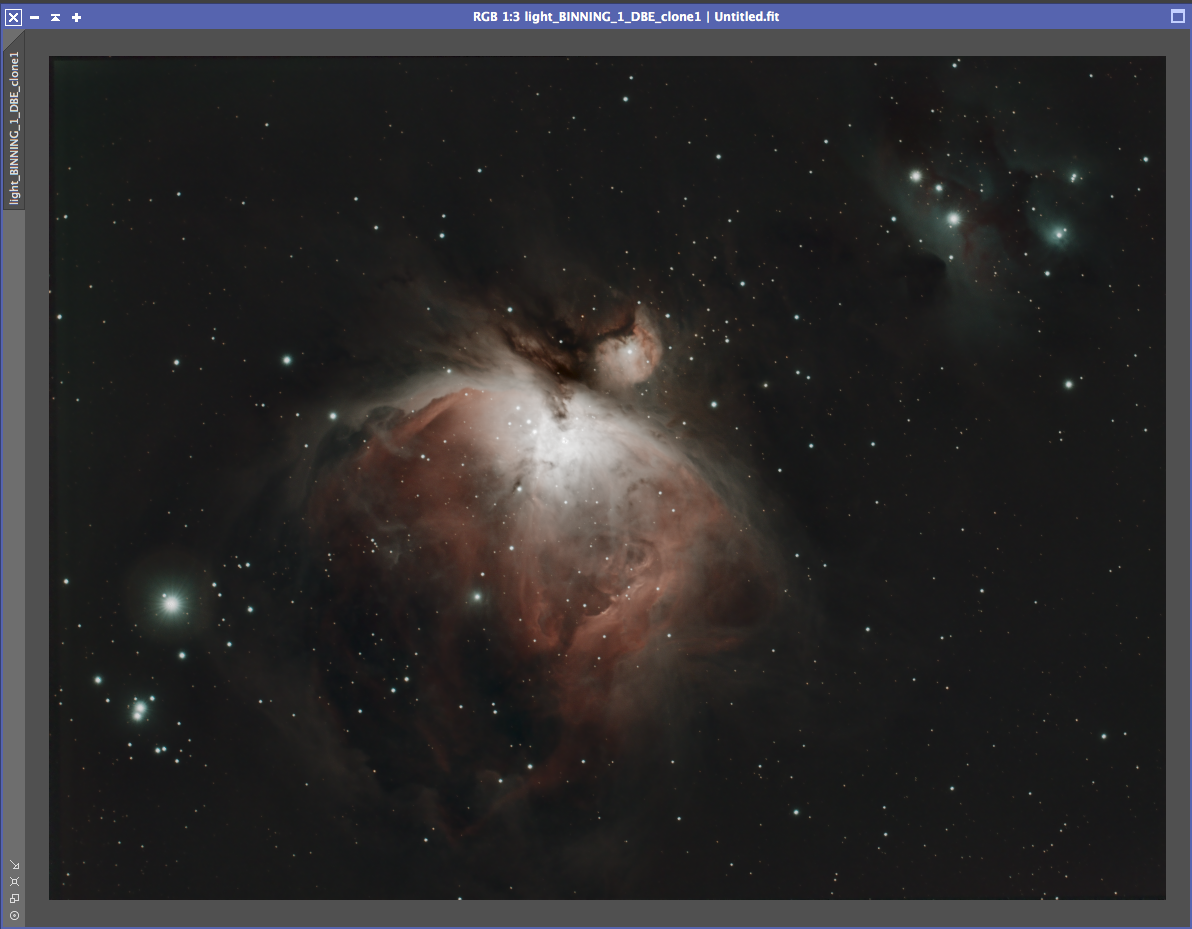
and after

And now photoshop time for final touch ups. Save the file as JPG (I know I know)
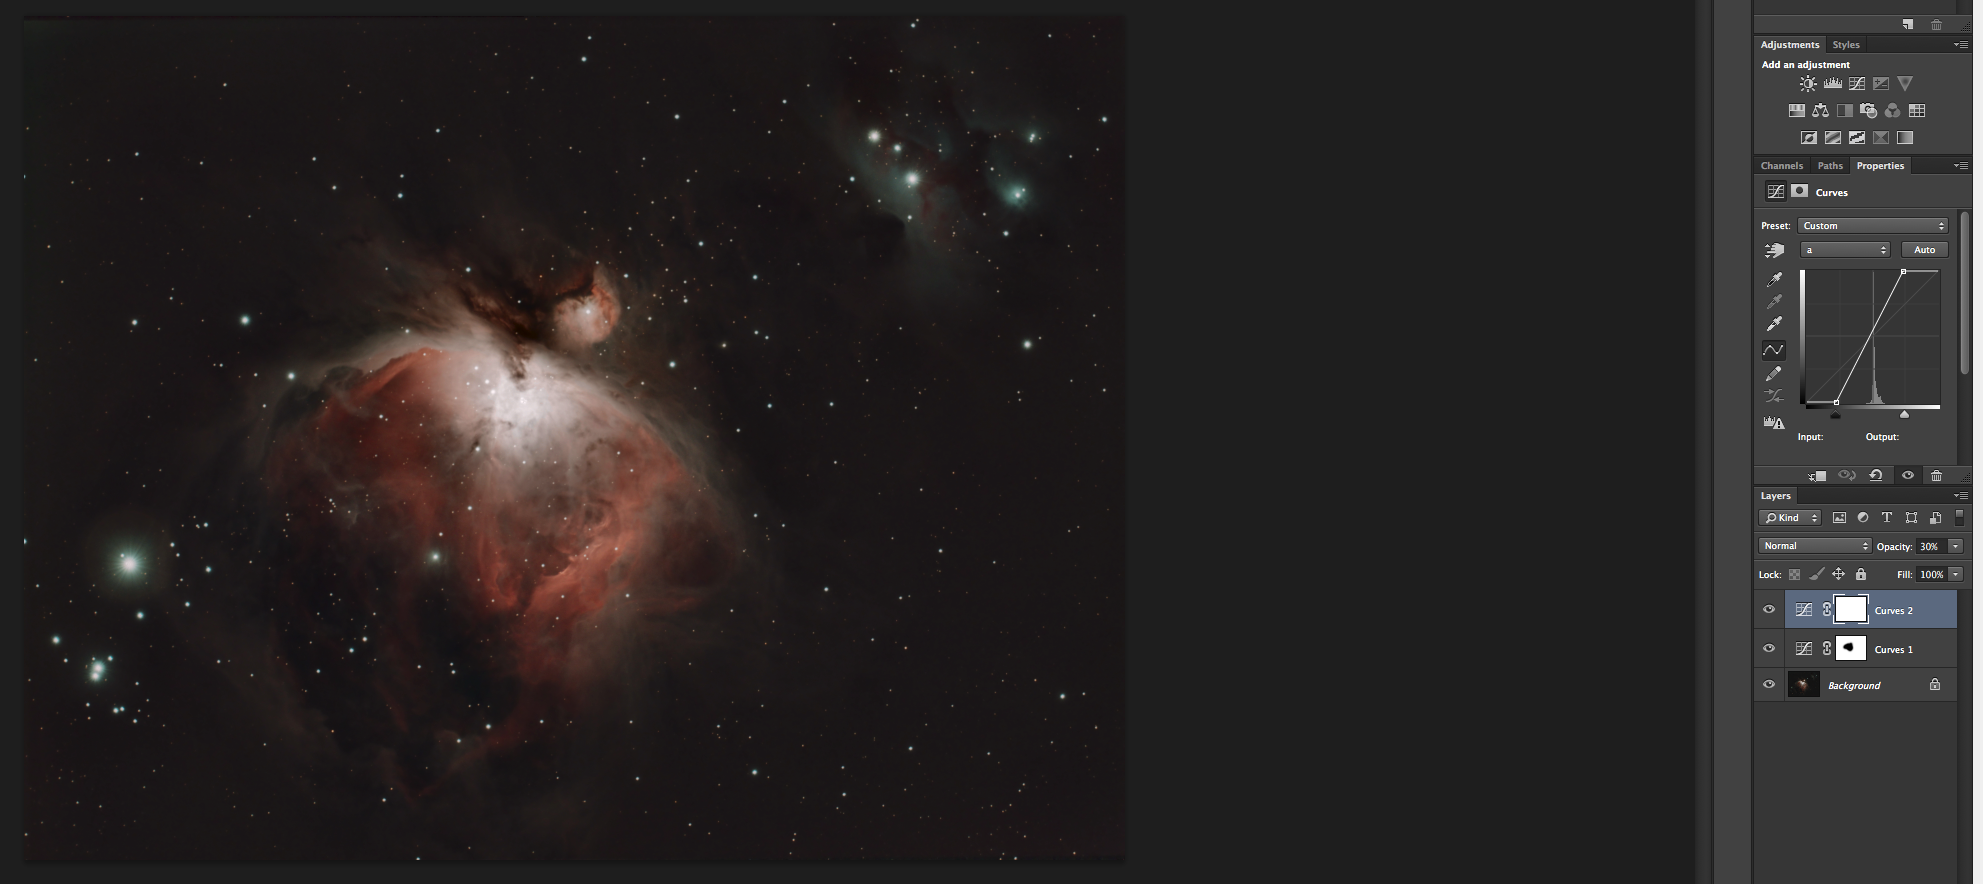
Using curves to boost color and contrast in LAB mode
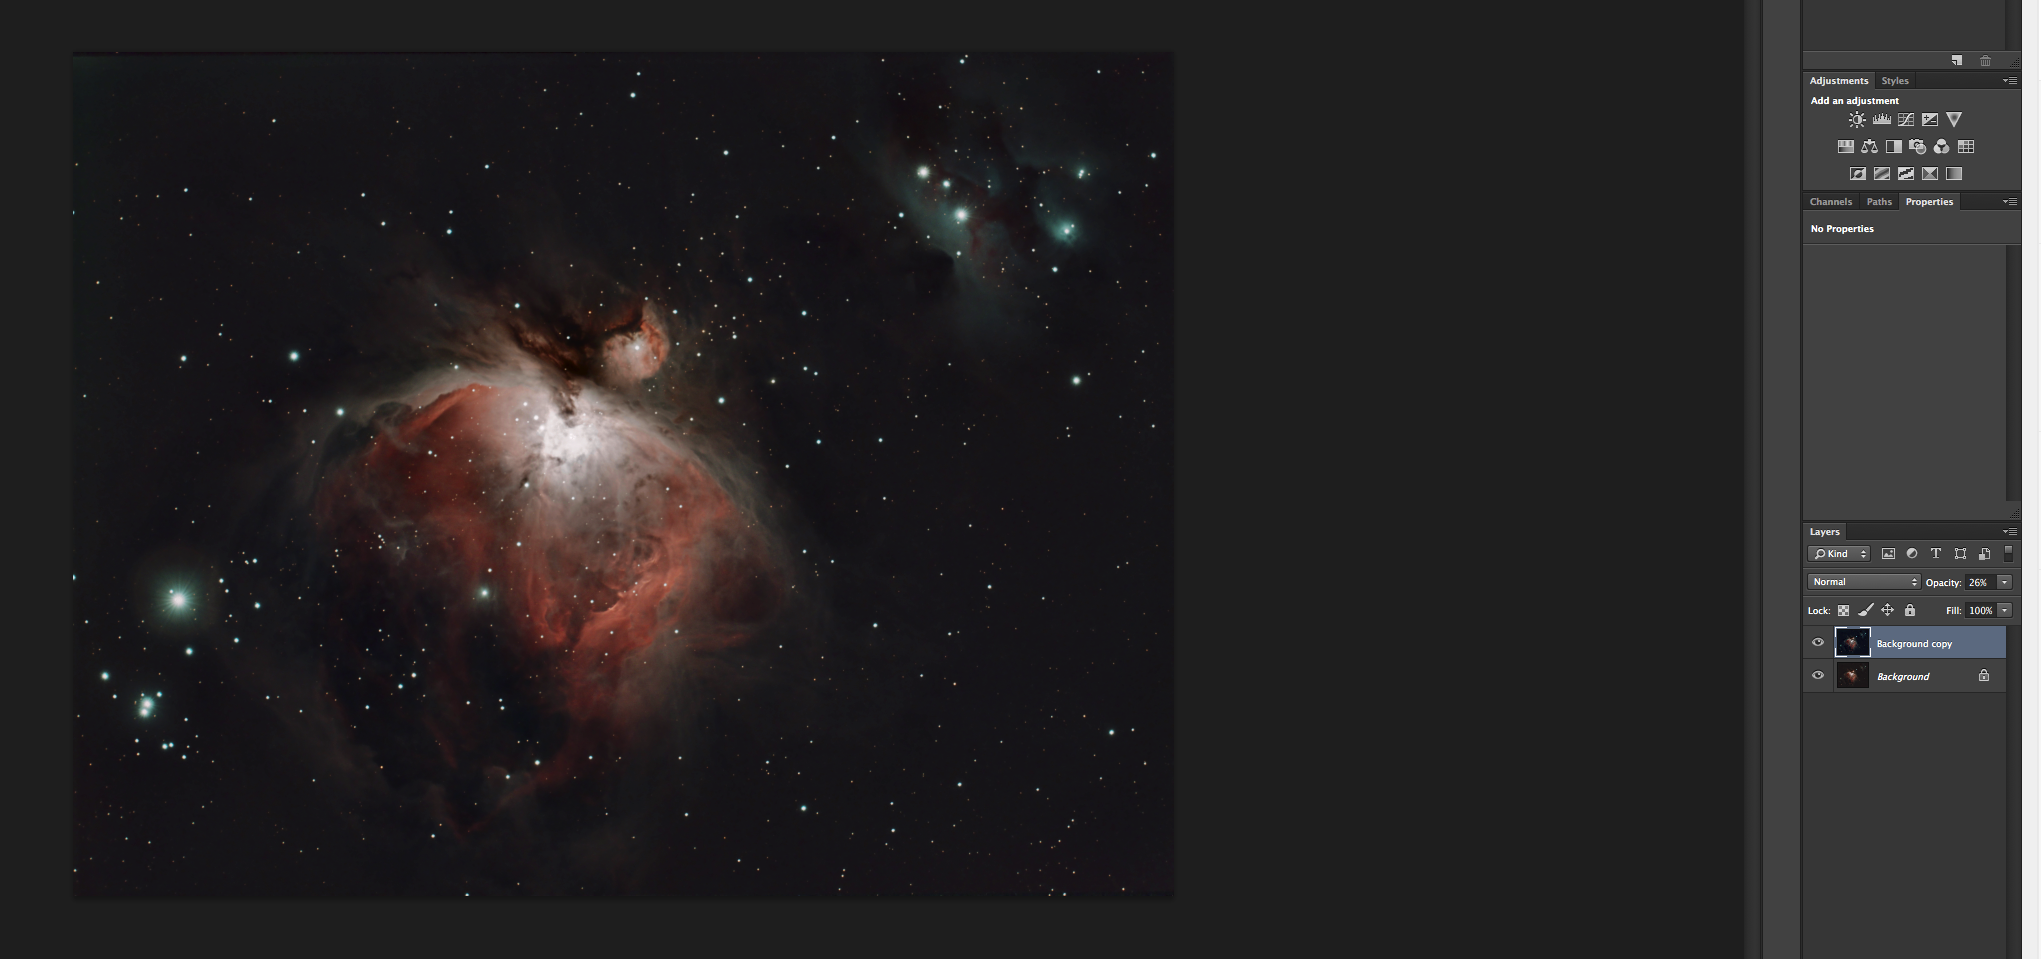
A High pass filter, and overlay mode to increase sharpness
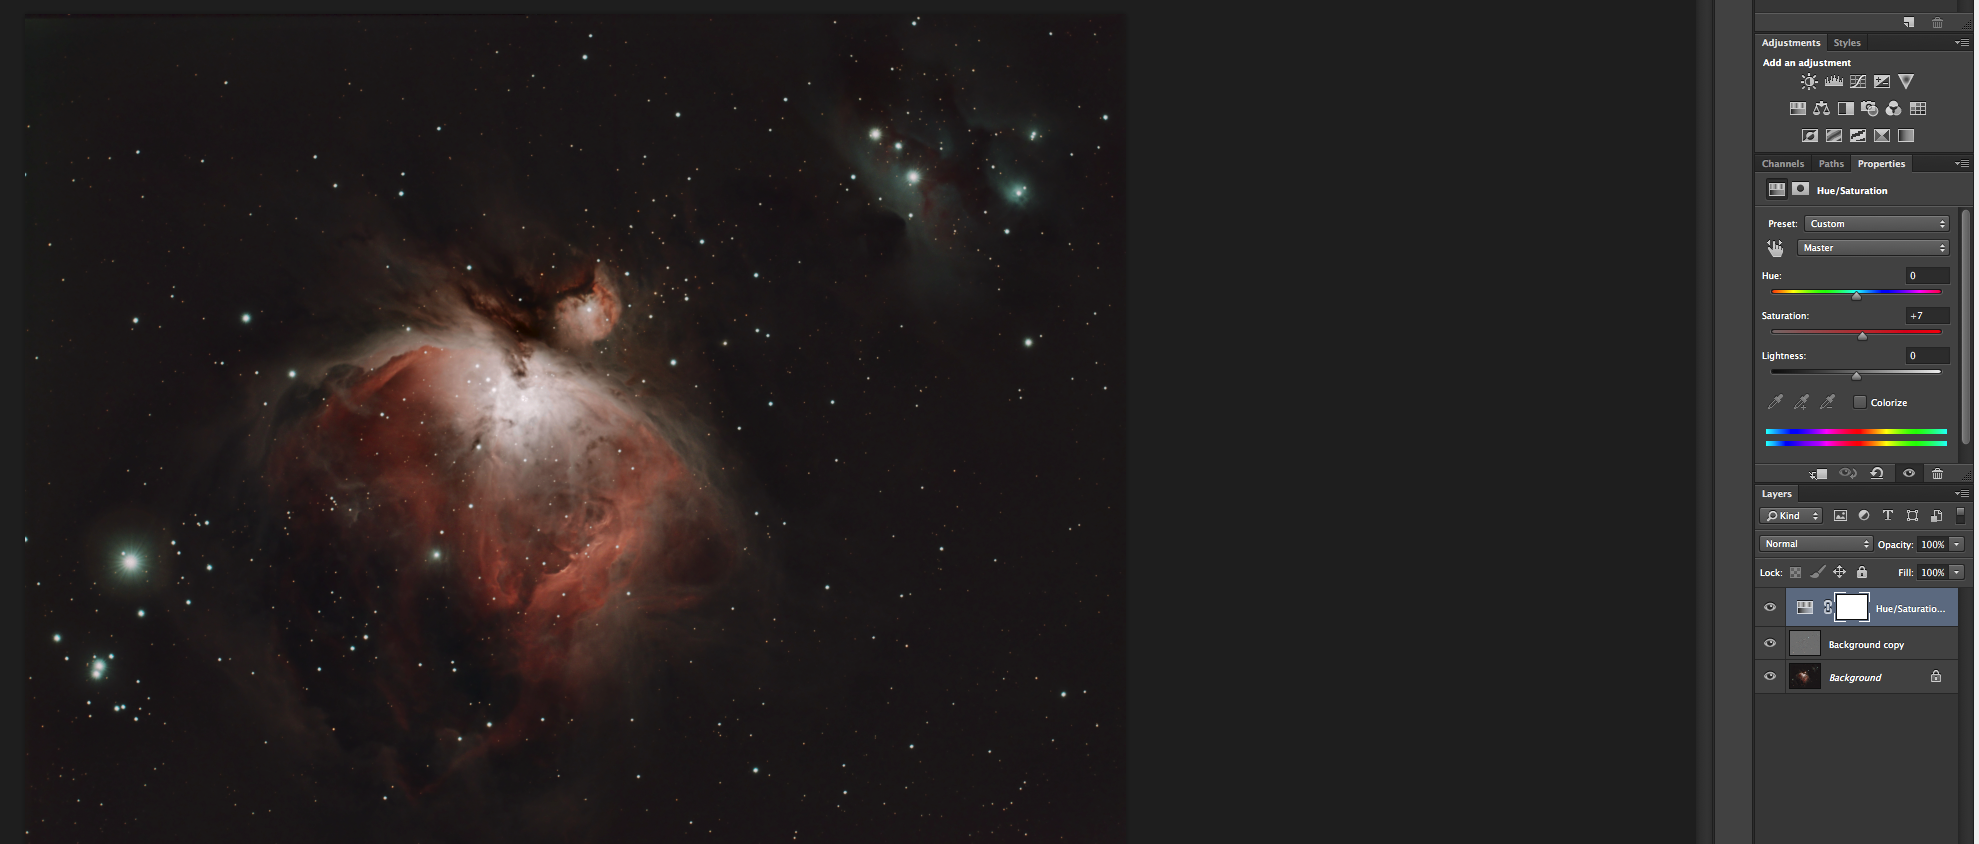
A bit of Autocolor to get bring of the blues out.
Brightness… And done… for now. Still have a lot to learn